Complete AeroPress Guide: Inverted Method Recipes and Expert Tips
Key Takeaways
- The AeroPress combines immersion and pressure extraction for a unique brew
- Detailed recipes for both the standard and inverted methods
- Recommended models and creative recipe variations included
Do you own an AeroPress but struggle to consistently brew a great cup? Maybe the results taste flat, or the flavor changes every time you brew. The good news is that with a few key techniques, the AeroPress can produce remarkably high-quality coffee — and it responds well to small adjustments.
In this guide, drawing on research and practice across thousands of AeroPress brews, we walk through the standard method, the inverted (upside-down) method, creative recipe variations, and the tips that matter most. By the end, your daily coffee ritual will feel more rewarding than ever.
What Is the AeroPress: A Hybrid Brewing System
The AeroPress was invented in 2005 by Alan Adler, an American engineer also known for creating the Aerobie flying disc. His goal was simple: brew a great cup of coffee quickly and easily. The result became one of the most beloved brewing devices in the specialty coffee world.
What makes the AeroPress unique is its combination of immersion brewing (where coffee steeps in water) and pressure extraction (where a plunger forces water through the grounds). This hybrid approach produces a cup that is simultaneously concentrated and clean — a flavor profile you cannot replicate with drip or French press alone.
The AeroPress has its own official World Championship (the AeroPress Championship), held annually across many countries. Competitors bring entirely original recipes, making the event an incredible source of creative brewing inspiration.
Three Key Strengths of the AeroPress
1. Fast, quality extraction: While a typical pour-over takes 4 to 5 minutes, the AeroPress completes extraction in 1 to 2 minutes — ideal for busy mornings without sacrificing quality.
2. Forgiving by design: Because it uses immersion, minor inconsistencies in pouring technique have less impact on the final cup. Beginners can achieve solid results from the very first brew.
3. Portable and versatile: The AeroPress weighs just 230 grams, making it perfect for camping, travel, and office use. Its many adjustable variables also allow you to express wildly different flavor profiles from the same device.
Pros
- +Fast extraction without compromising quality
- +Beginner-friendly and forgiving technique
- +Lightweight and ideal for travel or outdoors
- +Unique flavor that balances body and clarity
Cons
- -Only brews 1–2 cups per press
- -The inverted method requires practice to flip safely
- -Ongoing cost of paper filters (reusable metal filters available)
Standard vs. Inverted: Understanding Both Styles
The AeroPress can be used in two main orientations: the standard (upright) method and the inverted method. Each has distinct characteristics, and choosing between them depends on the flavor profile you are after.
Standard Method
Place the AeroPress upright on your cup — filter cap facing down — then add coffee and water, stir, and press. The standard method is straightforward and safe, with no risk of spilling hot coffee during a flip. The trade-off is that water begins flowing through the filter as soon as it contacts the coffee, making precise steeping time harder to control.
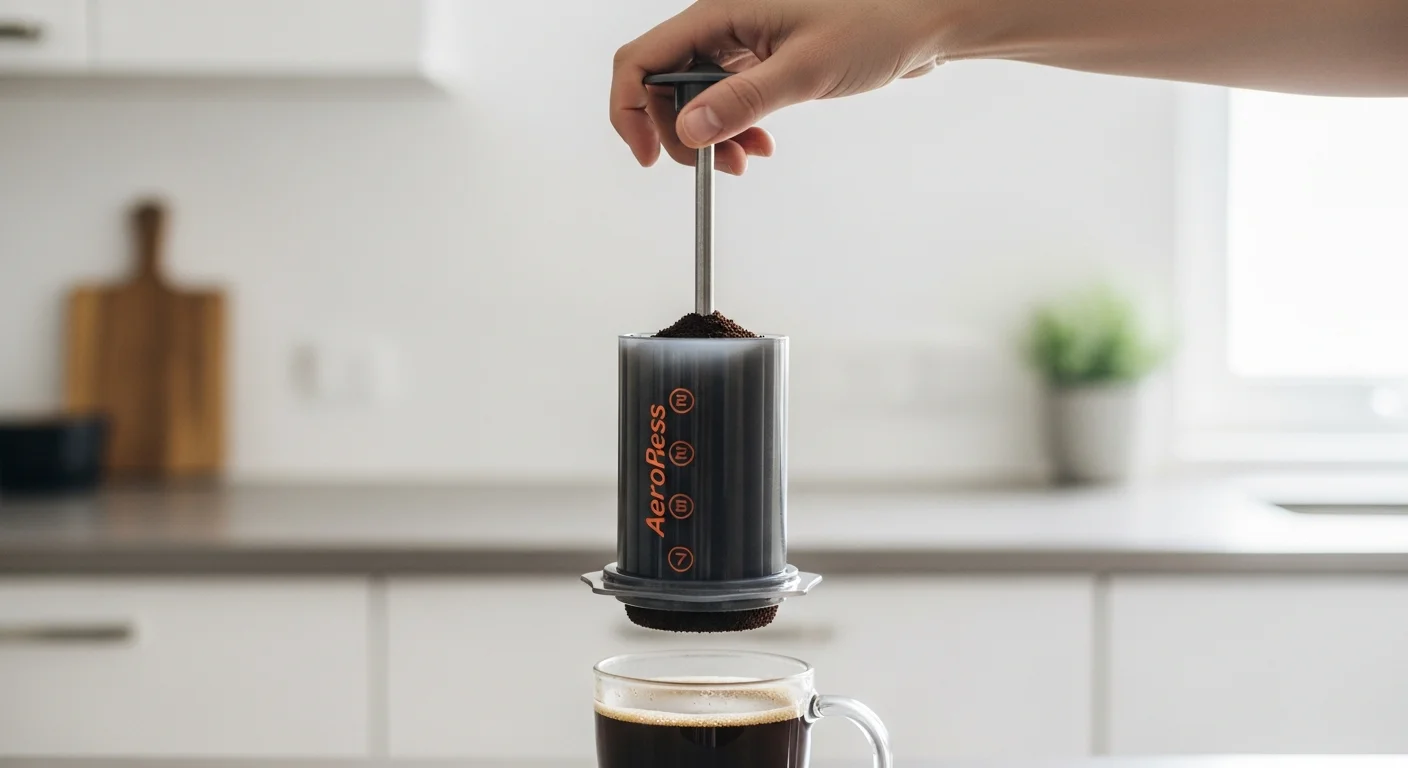
Inverted Method
Flip the AeroPress upside down — plunger inserted at the bottom — and add coffee and water. Once steeping is complete, attach the filter cap and flip the whole assembly onto your cup before pressing. The inverted method gives you full control over steeping time, because water cannot escape through the filter until you are ready. Most World Championship winners use this method.
Before flipping the AeroPress in the inverted method, confirm that the plunger is firmly seated to prevent leaks. Perform the flip over a stable surface to avoid spills of hot liquid.
Basic Recipe: Standard Method for Consistent Results
Start with the standard method to build familiarity with the AeroPress and the principles of pressure extraction.
Equipment and Ingredients
- AeroPress (chamber, plunger, filter cap)
- Paper filter (standard round)
- Coffee: 17g, medium grind
- Water: 250ml at 85–90°C (185–194°F)
- Digital scale
- Timer
Step-by-Step Instructions
Step 1: Prepare the equipment (30 seconds)
Place a filter in the cap and rinse it with hot water. This removes the paper taste and pre-warms the brewer.
Step 2: Add coffee (10 seconds)
Set the AeroPress upright on your cup, add the ground coffee, and gently tap to level the bed.
Step 3: Bloom (30 seconds)
Pour 50ml of water and stir briefly. Wait 30 seconds. This bloom phase releases CO₂ from fresh coffee, improving extraction uniformity.
Step 4: Add remaining water (20 seconds)
Pour the remaining 200ml in a slow, circular motion to saturate the grounds evenly.
Step 5: Press (30 seconds)
Attach the plunger and press down with steady, even pressure. Stop when you hear a hiss of air. Total brew time: approximately 2 minutes.
Advanced Recipe: Inverted Method for Maximum Flavor Expression
AeroPress (Inverted Method)
Total 2 minRinse filter and set AeroPress inverted with plunger inserted
30 sec
Add 18g coffee, pour 50ml water to bloom
30 sec
Add remaining 170ml water, stir with stirrer
20 sec
Attach filter cap and flip carefully onto cup
10 sec
Press slowly and evenly until a hiss is heard
30 sec
Inverted Method Details
Coffee dose and grind: Use 18g of coffee at a medium-fine grind (slightly finer than granulated sugar). Since steeping time is longer, a slightly coarser grind prevents over-extraction.
Water temperature: Use 87°C as your starting point. For light roasts, go up to 90–93°C. For dark roasts, drop to 80–85°C.
Steeping time: The recipe above yields about 1 minute of total immersion. Adjust in 30-second increments — more time for a richer, more complex cup, less time for a cleaner, brighter result.
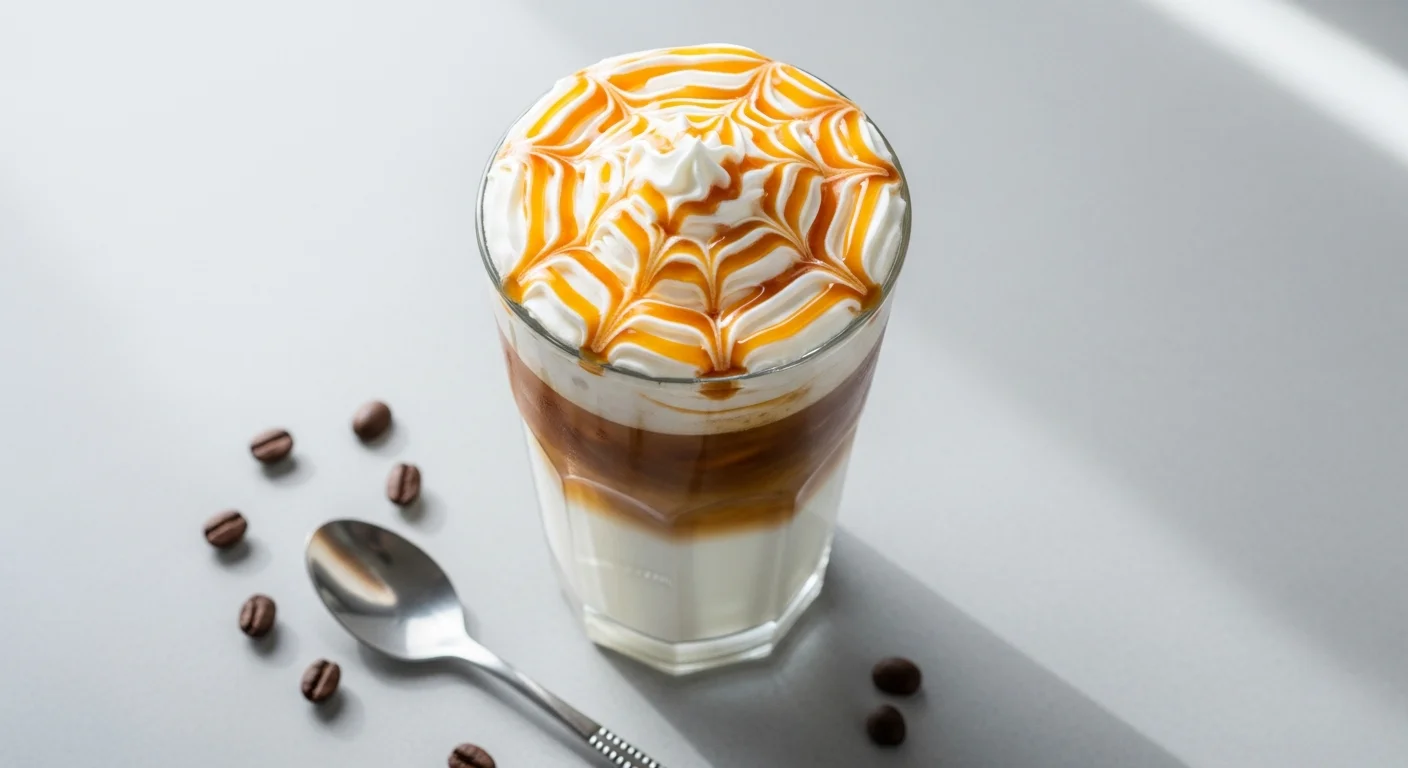
Recipe Variation: Flash Iced Coffee
This is an excellent summer recipe that takes full advantage of the AeroPress's concentrated output.
- Coffee: 20g, medium-fine grind
- Water: 150ml at 90°C
- Ice: 100g in the receiving glass
Brew at approximately two-thirds of the normal water volume, then press directly onto a glass full of ice. The rapid chilling locks in aroma and produces a clean, refreshing iced coffee without dilution.
Recommended Models: Two AeroPress Options
The AeroPress Original is the world-standard model, trusted by home brewers and specialty coffee professionals alike. Updated in 2023, it now uses shatter-resistant Tritan copolyester for added durability. The included 150 filters mean you can start brewing immediately after purchase. Whether you are a beginner or an experienced barista, the Original is the most versatile AeroPress for everyday use.
The AeroPress Go was designed specifically for travel and outdoor adventures. It comes with a drinking mug that doubles as a carrying case — the entire AeroPress fits inside the mug for hassle-free packing. Whether you are hiking, camping, or staying in a hotel, the Go delivers the same quality extraction as the Original in a far more compact form.
Key Tips for Better AeroPress Coffee
The golden ratio: Aim for 1g of coffee per 15–17ml of water. For 17g of coffee, that means 255–289ml of water. Adjust toward 1:13 for a more concentrated brew, or 1:18 for a lighter, tea-like cup.
Grind adjustment: Medium grind is the standard starting point. If your cup is too bitter, go coarser. If it tastes thin or under-extracted, go finer. Adjust one step at a time until you find your ideal setting.
Press technique: Apply slow, steady pressure over approximately 30 seconds. Pressing too fast risks channeling and off-flavors. Pressing too slowly can lead to over-extraction. The goal is consistent, even resistance throughout.
Cleaning: After brewing, push the plunger all the way through to eject the coffee puck, remove the filter cap, and rinse everything with warm water. A full wash with mild dish soap once a week keeps the AeroPress in excellent condition.
Summary: The AeroPress Opens Endless Possibilities
The AeroPress is a compact device with near-limitless brewing potential. Here is what to take away from this guide:
- Standard method: The best starting point — simple, consistent, and beginner-friendly
- Inverted method: Gives full control over steeping time for deeper flavor extraction
- Core recipe: 17g coffee, 250ml water at 85–90°C, approximately 2 minutes total
- Variations: Iced coffee, concentration adjustments, and steeping tweaks create a wide range of cups
Do not try to perfect everything at once. Start with the basic recipe, brew it several times, and then adjust one variable — grind size, temperature, or steeping duration — to move the flavor in the direction you want. Your ideal cup is just a few experiments away.
Related Articles
- AeroPress Championship Recipe Guide: Competition Techniques at Home
- Cold Brew Coffee Concentrate Recipe: Make and Store for Easy Use
- French Press Complete Guide: How to Brew Perfect Coffee for Beginners
- Pour-Over vs French Press vs AeroPress: Complete Comparison Guide
- Tetsu Kasuya 4:6 Method: Complete V60 Recipe Guide
Frequently Asked Questions
QHow do you use an AeroPress?
QWhat is the best grind size for AeroPress?
QWhat is the AeroPress inverted method?
About the AuthorExpert Reviewed
Coffee Guide Editorial
A team of certified writers and baristas with hands-on experience at origin farms and roasteries. We deliver practical, experience-backed guides on bean selection, brewing methods, and equipment reviews.
Credentials & Experience
- J.C.Q.A. Certified Coffee Instructor
- SCA Certified Barista
- 5+ years running a specialty roasting café
- 200+ coffee beans tasted annually