Drip Coffee for Beginners: Equipment, Steps, and Tips for a Perfect Cup
Key Takeaways
- With the right equipment and technique, beginners can brew excellent drip coffee at home
- The golden ratio is 1g of coffee to 12–15ml of water
- A 30-second bloom and water temperature of 90–95°C are key to great flavor
Many people dream of brewing café-quality coffee at home but don't know where to start. Pour-over drip coffee is the perfect entry point into the world of specialty coffee. The equipment is simple, the process is learnable, and with a little practice, anyone can enjoy a remarkably delicious cup.
This guide covers everything a beginner needs: the appeal of drip coffee, choosing the right tools, the basic brewing process, tips to avoid mistakes, and recommended gear.
What Makes Drip Coffee So Appealing
Drip coffee — also called pour-over coffee — is the most widely enjoyed brewing method in the world. Hot water is poured over ground coffee and allowed to drip through a filter, extracting flavor as it passes through.
The greatest strength of drip coffee is its ability to highlight the clean, nuanced flavors of the beans. Origin characteristics, roast levels, and aroma all come through with clarity — and you have full control over every variable.
No specialized machine is needed. A simple set of tools on your kitchen counter is all it takes to get started. The brewing ritual itself becomes a calming, meditative part of your morning or afternoon routine.
Pros
- +Clean flavor that highlights the bean's origin
- +Low startup cost and simple equipment
- +Full control over extraction variables
- +Works beautifully with freshly ground beans
Cons
- -Requires some practice to master
- -Less body and intensity than espresso
- -Equipment and bean quality directly affect the result
Gear You Need to Get Started
You don't need to spend a lot to start brewing good drip coffee. Here is what you need, and what is nice to have.
Essential Equipment
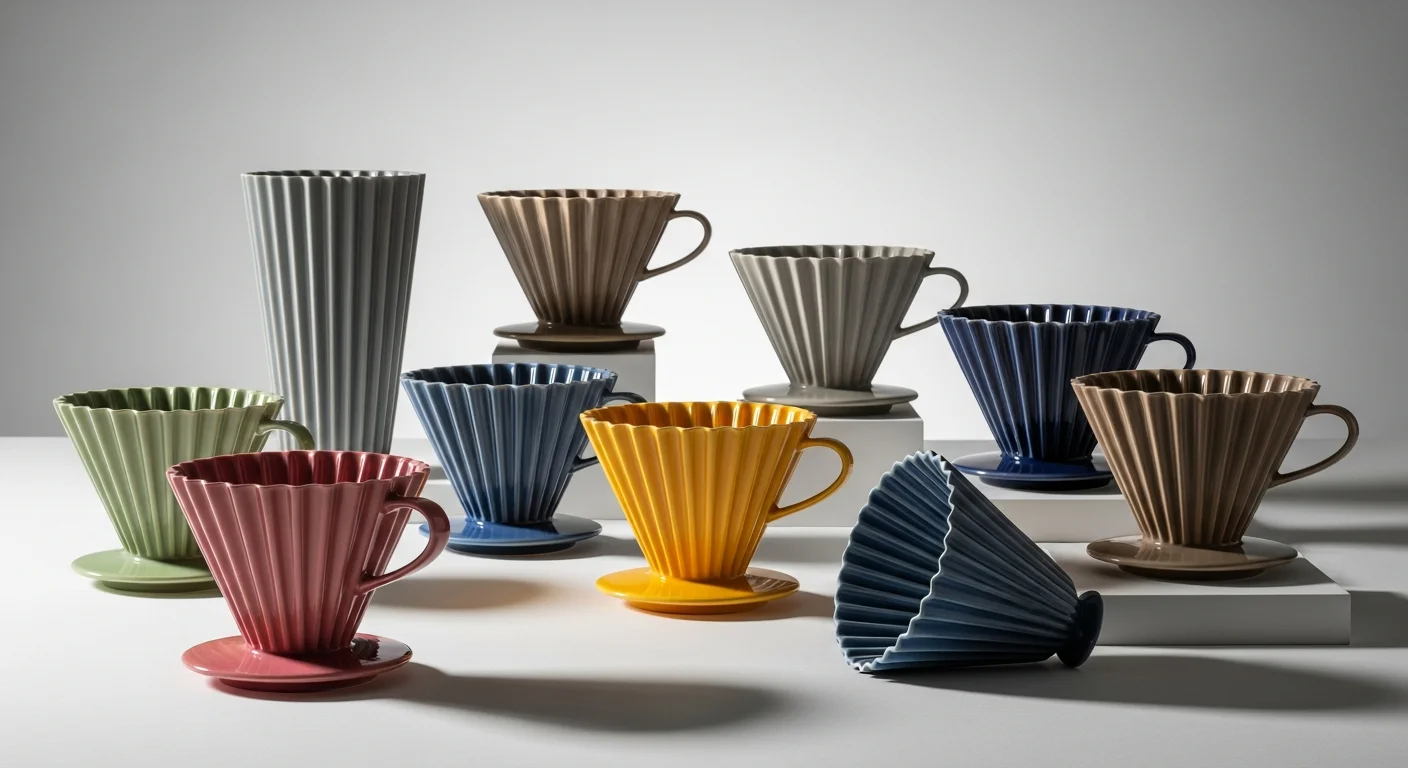
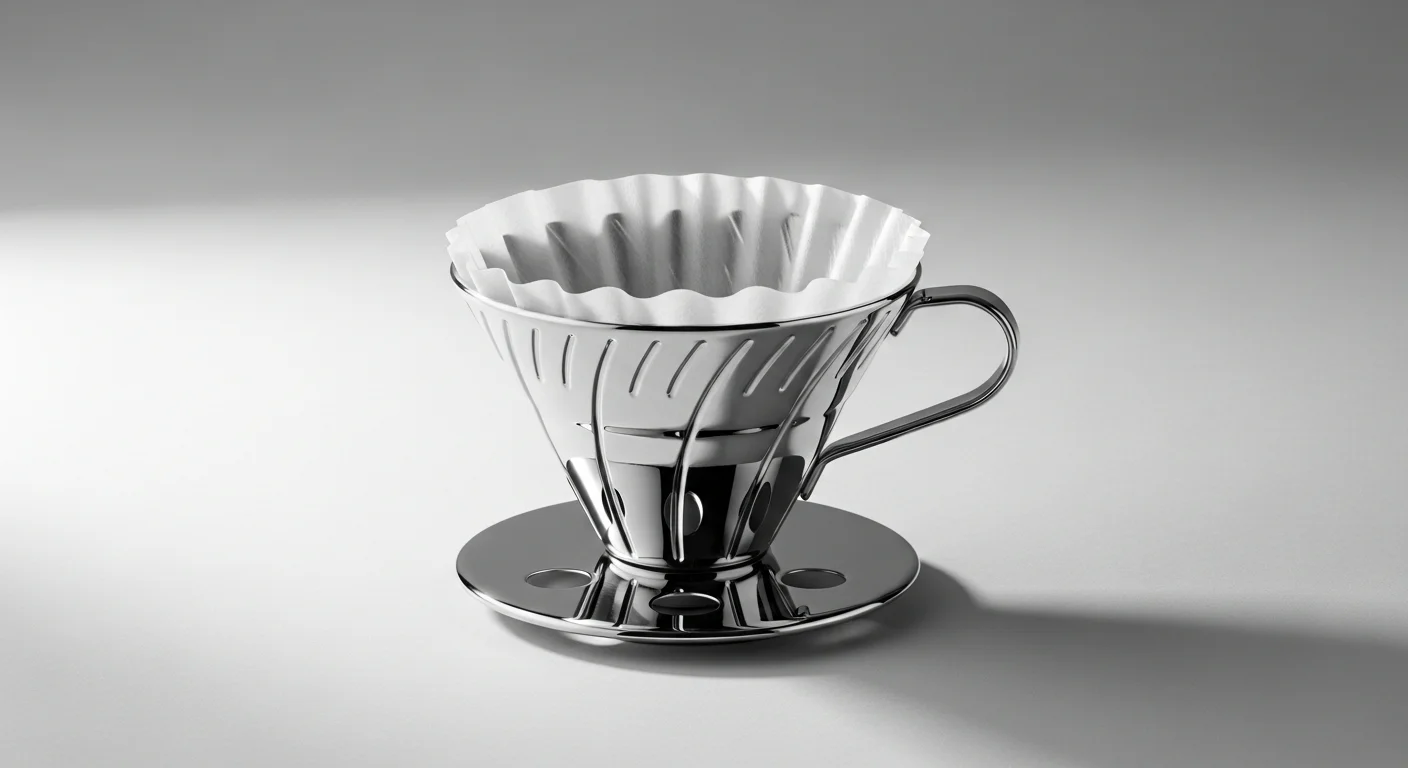
- Dripper: Holds the filter and coffee grounds. The HARIO V60 is the go-to recommendation for beginners and professionals alike
- Paper filters: Match the shape of your dripper. They filter out oils and fine particles for a clean cup
- Coffee server (carafe): A vessel to collect the brewed coffee below the dripper
- Drip kettle: A gooseneck kettle lets you control the flow rate and direction of the pour — essential for consistent results
- Measuring spoon or scale: For accurately measuring your coffee dose
Nice-to-Have Tools
- Digital scale: Measuring in grams gives you repeatability and precision
- Thermometer: Helps you dial in water temperature consistently
- Timer: For managing bloom and total brew time
- Coffee grinder: Freshly ground coffee makes a significant difference in aroma and flavor
Step-by-Step Brewing Guide
Once your equipment is ready, it is time to brew. Follow these steps closely at first. As you gain confidence, you can start experimenting with variables.
Hand Pour-Over (Drip)
Total 4 minutesHeat water and warm equipment
Bring water to a boil, then pour some over the dripper and server to preheat them. Discard the water. (~1 min)
Set filter and add coffee
Place the paper filter in the dripper and add 12–15g of medium-ground coffee per cup
Bloom
Pour just enough water to saturate the grounds (about 30ml) and wait 30 seconds. The coffee should puff up like a dome
First pour
Pour in a slow, steady spiral from the center outward, adding 60–80ml of water
Second and third pours
As the water level drops, continue pouring in the same spiral pattern until you reach the target volume
Aim for a total brew time of 3–4 minutes. Brewing too slowly can lead to over-extraction and bitterness.
The Golden Ratio
The standard guideline for drip coffee is 1g of coffee to 12–15ml of water.
| Strength | Coffee | Water |
|---|---|---|
| Strong | 15g | 180ml |
| Standard | 15g | 200ml |
| Light | 15g | 225ml |
Four Tips for Brewing Success
Mastering these four principles will dramatically improve your results.
1. Use Water at 90–95°C (194–203°F)
Water temperature significantly affects flavor. Let boiling water rest for 1–2 minutes before pouring. Too hot creates bitterness and astringency; too cool produces weak, sour results.
2. Take the Bloom Seriously
The 30-second bloom — where a small amount of water saturates the grounds before the main pour — is crucial. Carbon dioxide trapped in fresh coffee escapes during this stage, allowing water to extract flavor more evenly. If the coffee puffs up noticeably, the beans are fresh.
3. Grind to Medium Coarseness
Drip coffee calls for a medium grind, roughly the texture of coarse sand or raw sugar. Too fine causes clogging and over-extraction; too coarse leads to a weak, watery cup.
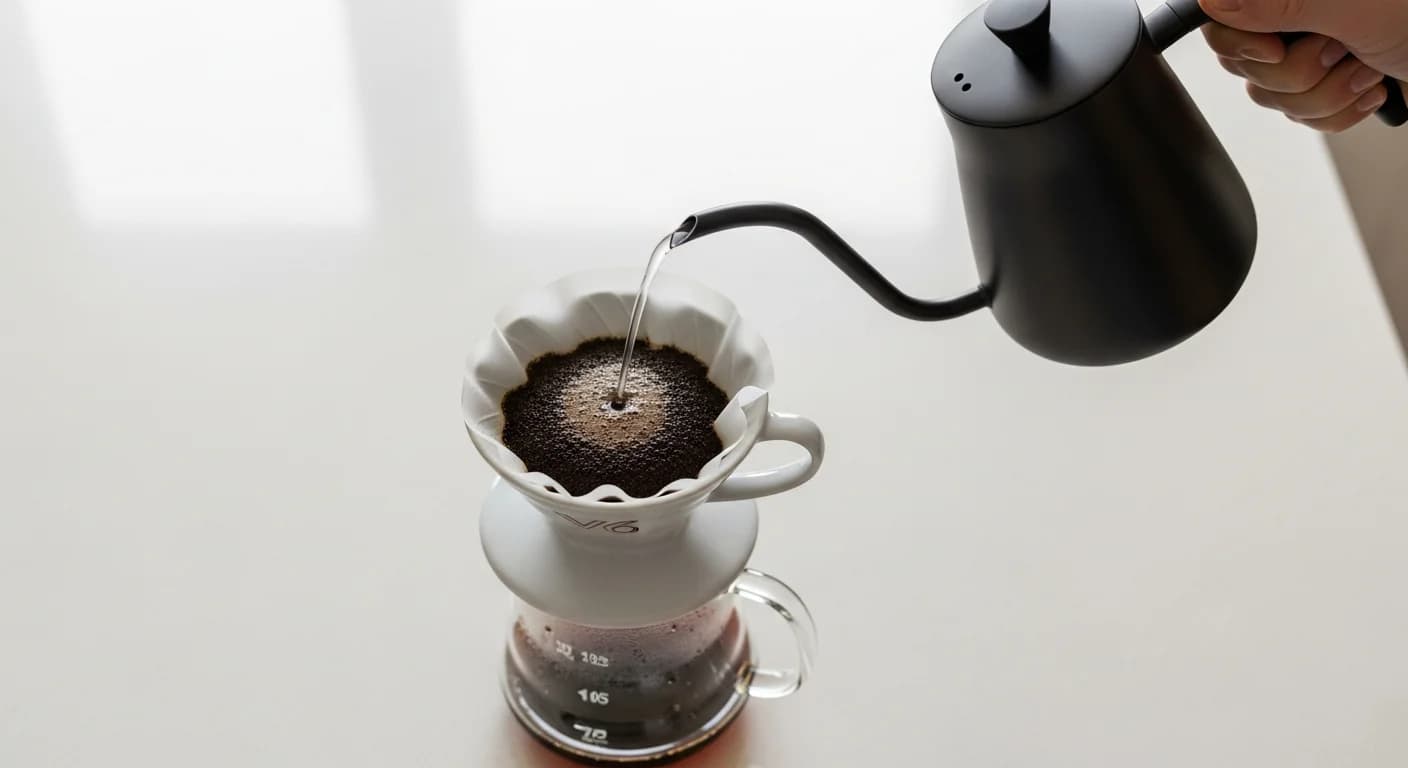
4. Pour Slowly and Evenly
Use the gooseneck spout to pour in gentle, circular spirals from the center outward. Avoid hitting the filter paper directly or pouring too fast in one spot.
Pouring directly onto the sides of the filter causes water to bypass the coffee grounds entirely. Always aim toward the center of the coffee bed to ensure full extraction.
Troubleshooting Common Problems
Even experienced brewers hit bumps. Here is how to diagnose and fix the most common issues.
Coffee Tastes Too Bitter
- Water too hot (above 95°C) → Let it cool slightly before pouring
- Brew time too long (over 5 minutes) → Pour faster or use a coarser grind
- Grind too fine → Adjust to medium
- Too much coffee → Reduce dose by 1–2g
Coffee Tastes Weak or Watery
- Water temperature too low (below 85°C) → Use hotter water
- Not enough coffee → Increase dose by 1–2g
- Grind too coarse → Adjust to medium
- Bloom was skipped → Always bloom for 30 seconds
Coffee Tastes Too Sour
- Water temperature too low → Raise to 90–95°C
- Using light-roast beans → Try a medium or dark roast
- Brew time too short → Pour more slowly to extend contact time
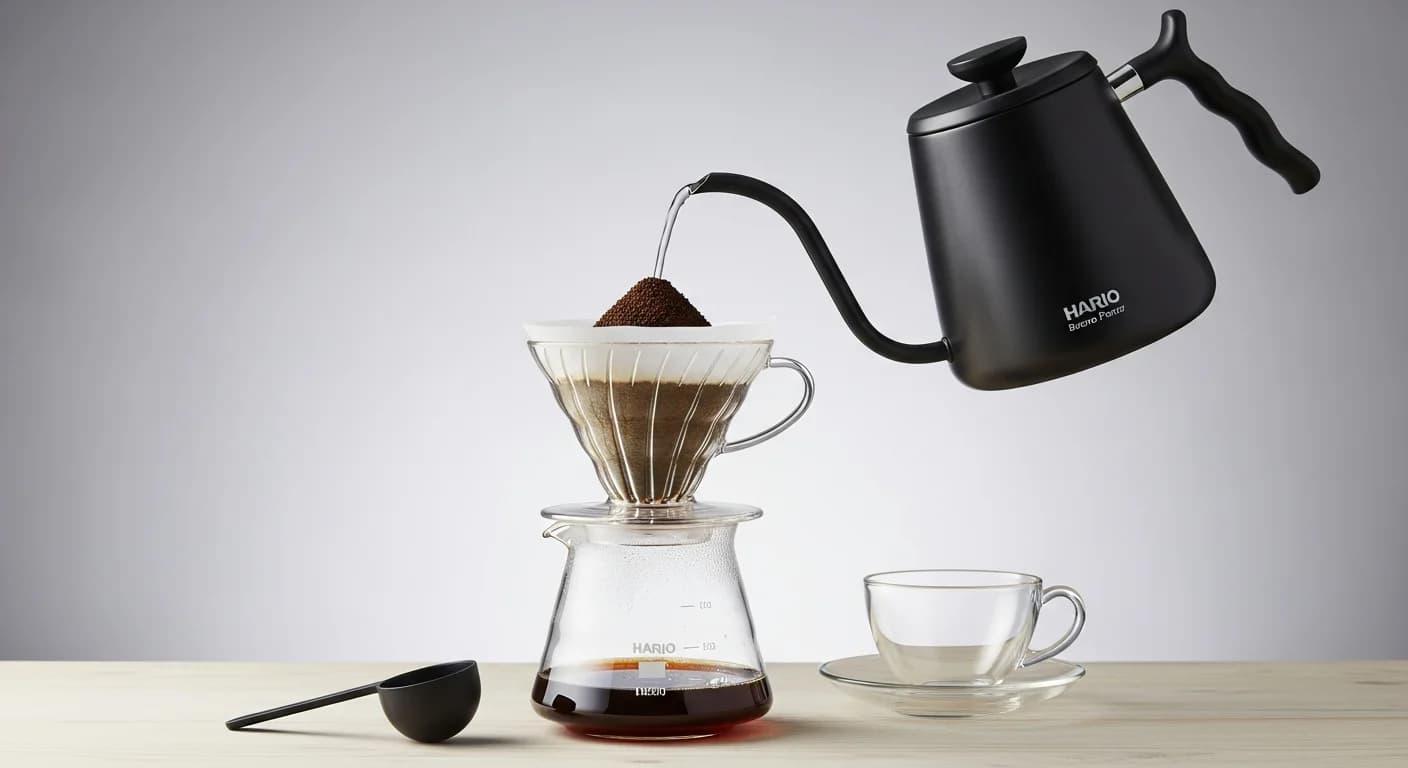
Recommended Gear: HARIO V60 Drip Kettle Buono
Of all the equipment in a pour-over setup, the kettle has the most direct impact on consistency. A thin gooseneck spout gives you the control you need to pour evenly.
This classic kettle has a precisely engineered gooseneck spout that allows you to control both the flow rate and pour direction. The 800ml capacity is suitable for brewing multiple cups. It works on both gas and induction stovetops, making it versatile for any kitchen setup. Trusted by baristas and home brewers around the world.
Summary
Drip coffee rewards patience and consistency. With the right approach, even beginners can brew cups that rival a specialty café.
Key Takeaways for Drip Coffee Beginners
- Golden ratio: 1g of coffee to 12–15ml of water
- Water temperature: 90–95°C (194–203°F)
- Bloom: Always wait 30 seconds after the initial pour
- Grind: Medium is the starting point
- Total brew time: 3–4 minutes
- Essential gear: Dripper, filter, server, and a gooseneck kettle
There is no need to aim for perfection from day one. Each cup is an opportunity to learn a little more — about the beans, your technique, and your own taste preferences. Experiment with different origins and roast levels, and enjoy the process of discovering your ideal cup.
Related Articles
- Drip Coffee Equipment Guide for Beginners | What to Buy First
- Complete Guide to Brewing V60 Drip Coffee | Master the 4:6 Method
- Getting Started with Hario V60 Hand Drip
- Chemex Review & How to Use It — The Most Beautiful Coffee Maker Explained
- Best Coffee Servers 2026 — Top 8 Ranked with Buying Guide
Frequently Asked Questions
QWhat is the basic recipe for drip coffee?
QWhat equipment do I need for drip coffee?
QWhy does my drip coffee taste weak?
About the AuthorExpert Reviewed
Coffee Guide Editorial
A team of certified writers and baristas with hands-on experience at origin farms and roasteries. We deliver practical, experience-backed guides on bean selection, brewing methods, and equipment reviews.
Credentials & Experience
- J.C.Q.A. Certified Coffee Instructor
- SCA Certified Barista
- 5+ years running a specialty roasting café
- 200+ coffee beans tasted annually