Paper Drip Coffee Tips: A Complete Beginner's Guide to Better Brewing
Key Takeaways
- The 30-second bloom is the most important step in paper drip brewing
- Water temperature ranges from 83–92°C depending on roast level
- Pouring in concentric circles from center outward ensures even extraction
Paper drip is one of the most popular ways to brew coffee at home, and for good reason. The equipment is affordable and approachable, and it produces a clean, nuanced cup that showcases the character of your beans. That said, it is also one of those methods where small details make a noticeable difference — which is why many people find their results inconsistent from one brew to the next.
This guide breaks down the technique of paper drip brewing into clear, actionable steps. Whether you are just starting out or looking to improve a routine you have had for years, the principles here will help you get reliable, delicious results every time.
Five Variables That Determine Paper Drip Quality
The flavor of a paper drip coffee is shaped by five main variables.
1. Coffee dose and grind size: A standard dose is 10–12g per cup, and a medium grind is the default for paper drip. 2. Water temperature: The range of 83–92°C covers most situations. Roast level determines where in that range to aim. 3. The bloom (pre-infusion): Pouring a small amount of water first and waiting 30 seconds. This is arguably the most important individual step. 4. Pouring technique: Pouring in concentric circles from the center outward is the standard approach. 5. Total brew time: Aim for 2 minutes 30 seconds to 3 minutes. Significantly shorter or longer than this range tends to produce unbalanced results.
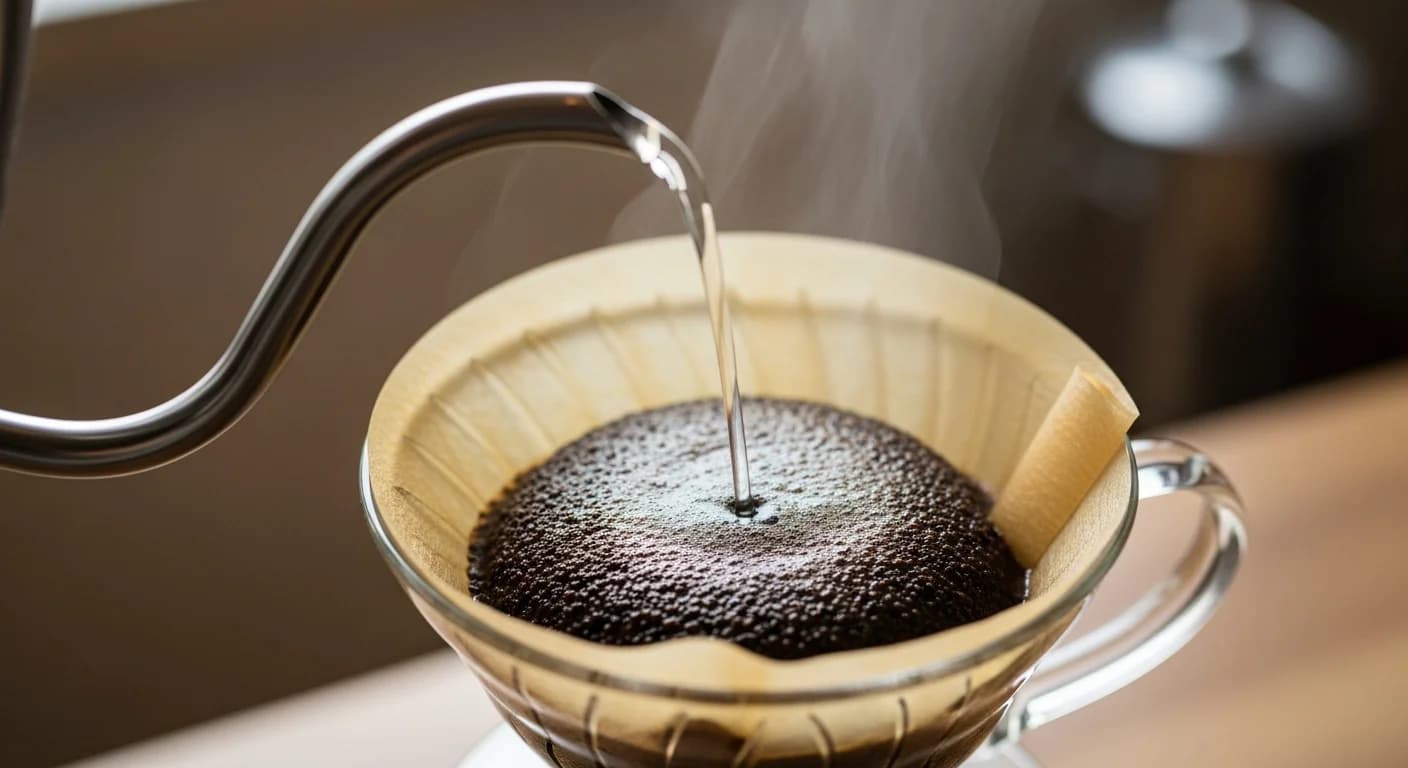
The bloom releases CO2 gas trapped in fresh coffee grounds. When you pour the first small amount of water, freshly roasted beans will visibly swell and bubble — this is called blooming. The more active the bloom, the fresher your beans. Older beans may not bloom much, but the 30-second wait is still worth doing for more even extraction.
Basic Paper Drip Brewing Steps
Paper Drip (Pour-Over)
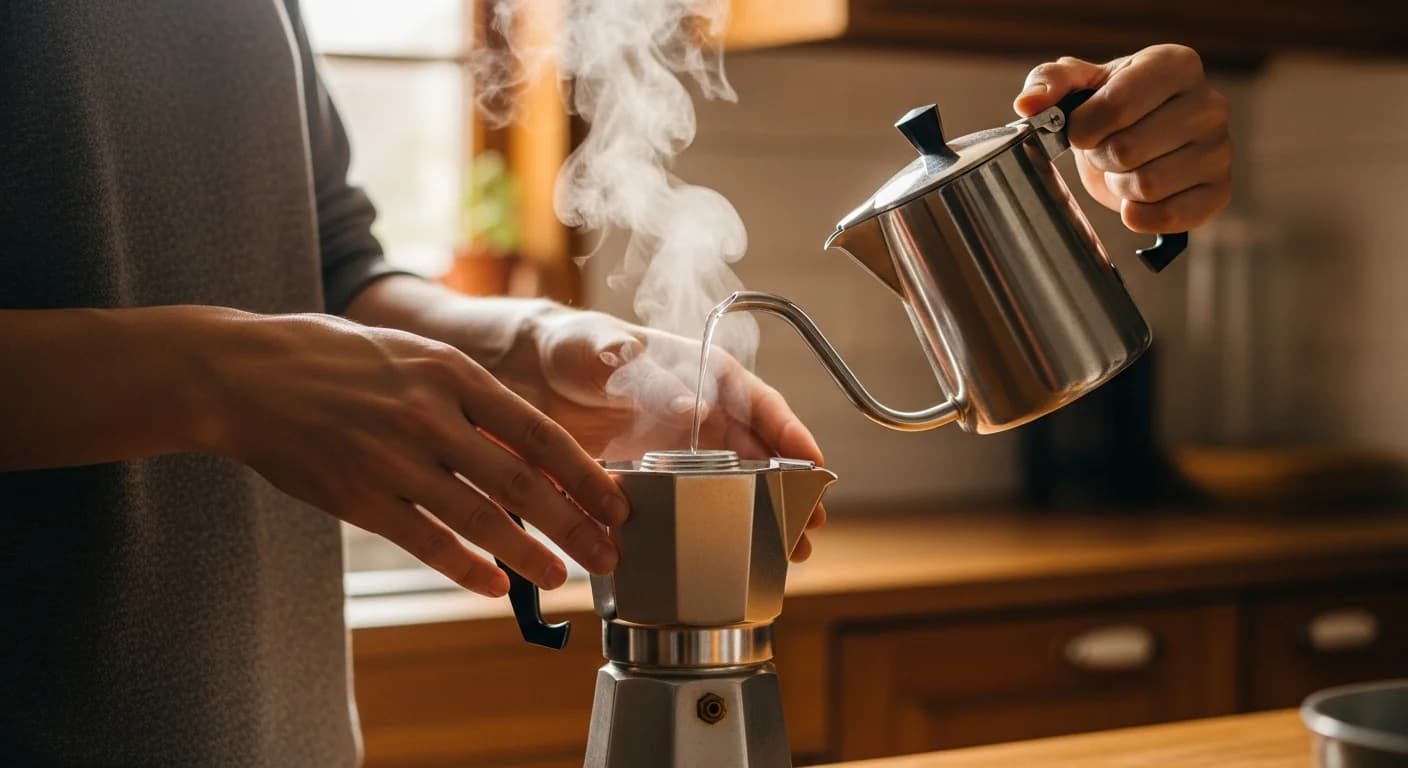
Total Approx. 4 minutesPlace a paper filter in the dripper and rinse it thoroughly with hot water to remove paper taste and pre-heat the dripper
30 sec
Discard rinse water, then add 10–12g of medium-ground coffee and level the bed
10 sec
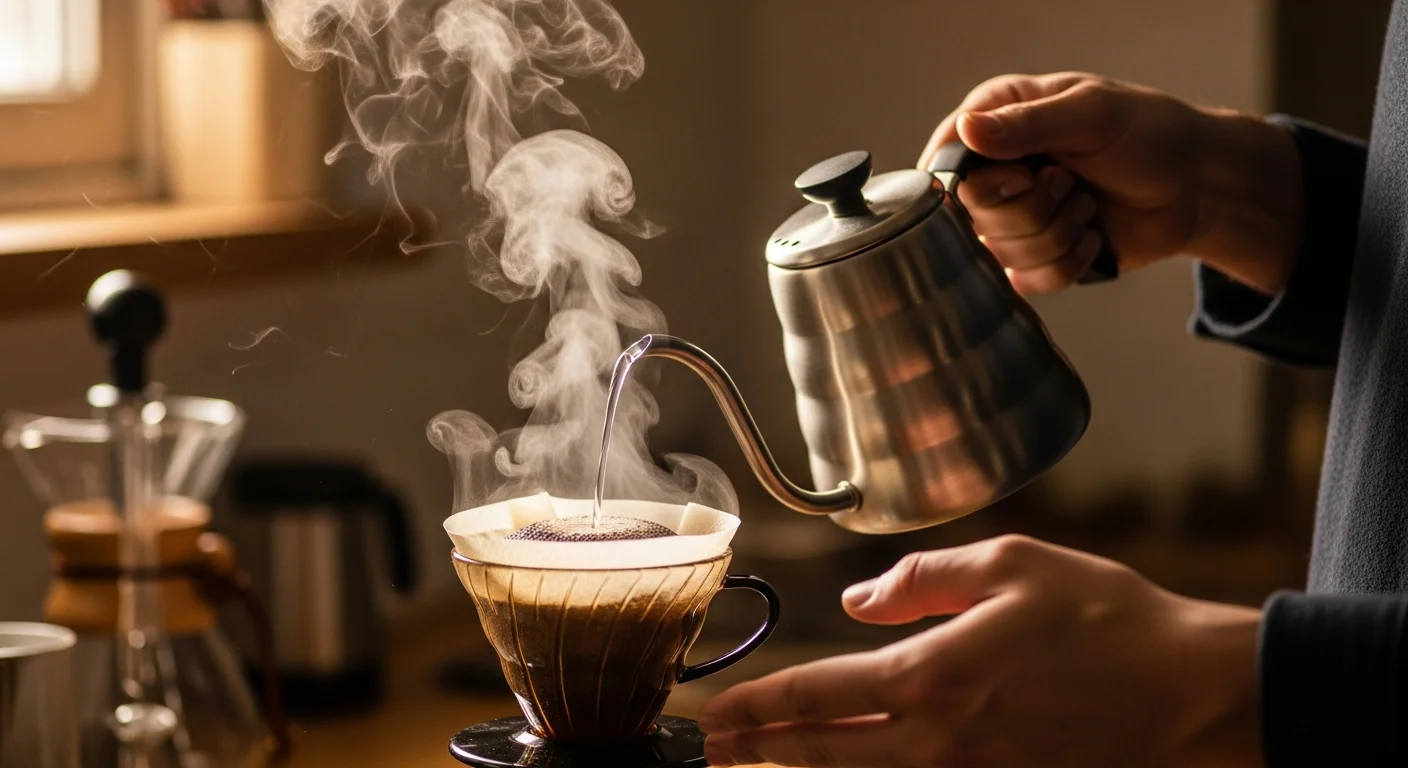
Pour approximately 20ml of water at 88°C over all the grounds and let bloom for 30 seconds
30 sec
Begin the first pour
slowly drizzle in about 60ml in concentric circles from center outward
Before the water level drops too low, add the second pour of about 60ml in the same circular motion
30 sec
Add the third and final pour to reach 160–180ml total, then remove the dripper when all coffee has drained
30 sec
Key Details for Each Step
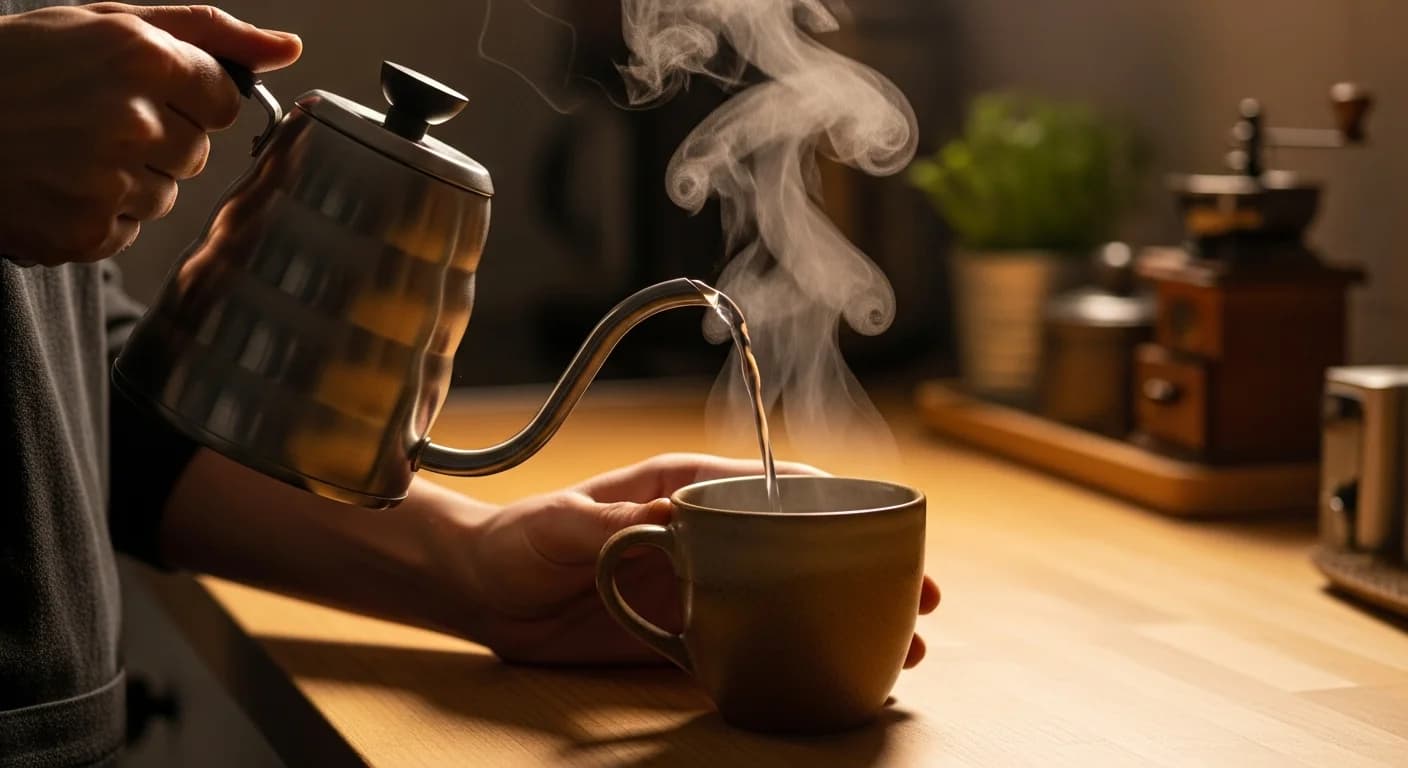
Rinsing the filter: Always rinse the paper filter before adding coffee. This removes the papery taste and pre-warms both the dripper and the cup below. Discard this rinse water before adding your grounds.
Dosing: For one cup (about 150ml of finished coffee), use 10–12g of coffee. For two cups (300ml), use 18–22g. Adjust up if you prefer stronger coffee and down if you prefer a lighter brew.
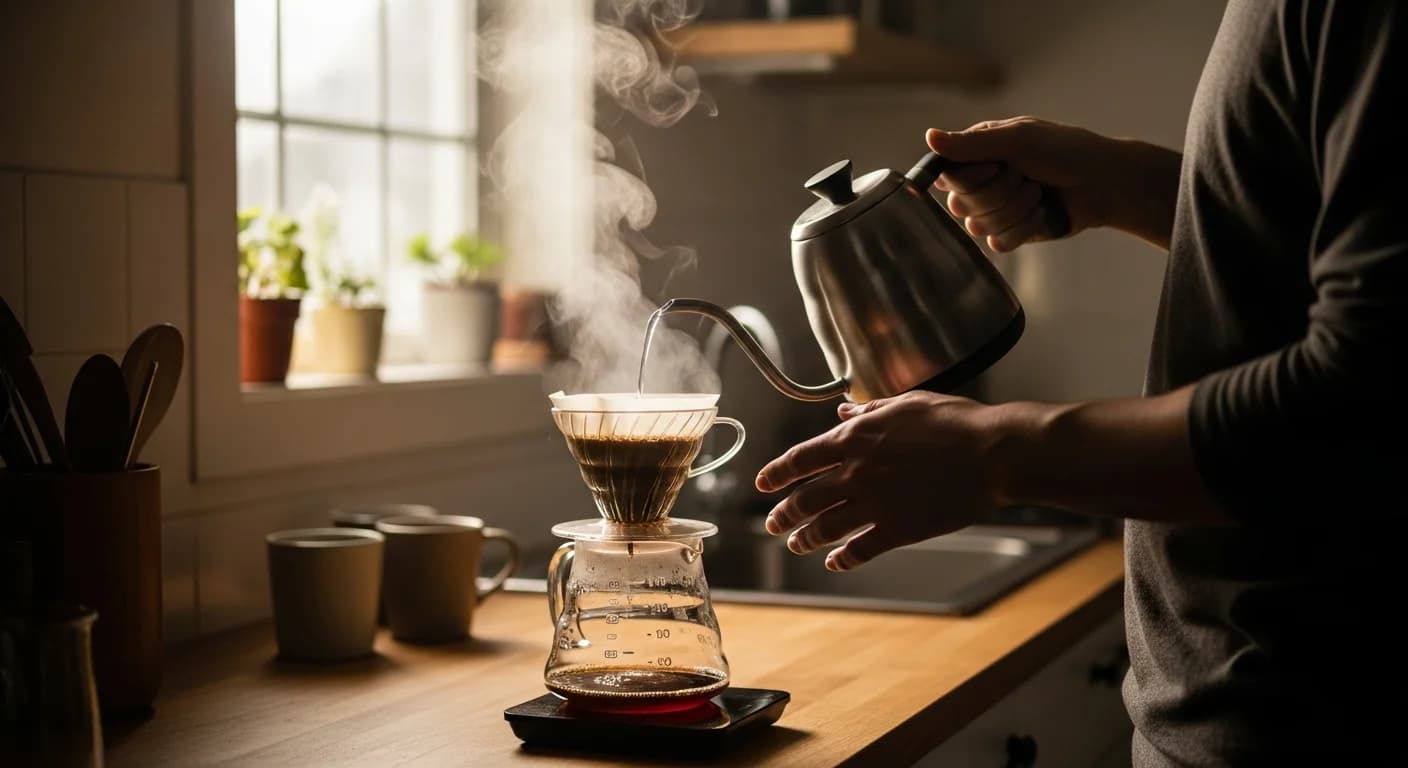
Pouring technique: Use a gooseneck kettle for precise control. Start at the center of the grounds and pour outward in small circles. Keep the pour at least 1cm away from the paper filter at all times — pouring directly onto the paper bypasses the grounds and leads to uneven extraction.
Water Temperature and Roast Level
Water temperature has a direct impact on how different flavor compounds extract from the coffee.
| Roast Level | Recommended Temp | Reason |
|---|---|---|
| Light roast | 90–92°C | High heat is needed to open up fruity acidity and floral aromatics |
| Medium roast | 86–90°C | Balanced range that extracts sweetness, bitterness, and acidity in harmony |
| Dark roast | 83–86°C | Lower temperature softens harsh bitterness and brings out chocolatey richness |
If you do not have a thermometer, bringing water to a boil and then letting it sit in a gooseneck kettle for 1–2 minutes will bring it to approximately 90°C. Removing the lid for 30 seconds after the boil can also cool it a few degrees.
Over-extraction (bitter, harsh coffee) typically results from high temperature, fine grind, or too-long brew time. Under-extraction (weak, sour, watery coffee) typically comes from low temperature, coarse grind, or too-short brew time. When adjusting flavor, change one variable at a time so you can understand what caused the problem.
Common Mistakes and How to Fix Them
Problem: Too bitter Cause: Water too hot, grind too fine, or brew time too long. Fix: Drop the temperature by 3–5°C or make the grind one notch coarser.
Problem: Too weak or watery Cause: Not enough coffee, water too cool, or brew finished too quickly. Fix: Add 1–2g more coffee or raise the temperature slightly.
Problem: Muddy or off-flavors Cause: Pouring too quickly, causing coffee to stagnate in a deep pool. Fix: Pour in smaller amounts per pass and allow the water level to drop more between pours.
Problem: Inconsistent results brew to brew Cause: Eyeballing doses and water amounts instead of measuring. Fix: Use a digital scale every time. This single change dramatically improves consistency.
Gear Essentials for Paper Drip
You need four core pieces of equipment to get started.
- Dripper: The Hario V60 (conical) and Kalita (flat-bottomed) are the two most popular beginner-friendly options
- Paper filters: Choose filters made for your specific dripper shape. Bleached and unbleached both work well
- Gooseneck kettle: The narrow spout gives you precise control over pour speed and direction
- Digital scale: Measuring both your coffee and your water is essential for consistent results
A coffee grinder is a strong secondary recommendation. Freshly ground coffee makes a noticeable difference in aroma and flavor. For beginners, a hand grinder is an affordable and effective option.
If you are unsure which dripper to start with, the Hario V60 is the most widely documented option in the specialty coffee community. An enormous range of recipes, tutorials, and troubleshooting guides are available for it, which makes learning easier.
Summary: The Bloom and Temperature Are Your Foundation
Here are the key takeaways for paper drip brewing.
- Commit to the 30-second bloom: It releases gas and sets up even extraction from the first pour
- Match temperature to roast level: Stay in the 83–92°C range and adjust based on how your current beans taste
- Pour in concentric circles: Center outward, never directly on the paper
- Use a scale every time: The single highest-impact change for improving consistency
- Change one variable per session: Makes it easier to identify what is helping or hurting your results
Your first few attempts may not taste exactly the way you hoped, but by applying these principles consistently you will see rapid improvement. Getting the technique right matters more than upgrading your equipment, and most of the technique comes down to patience and repetition.
Related Articles
- Coffee-to-Water Ratio Guide: Finding Your Perfect Brew Strength
- How Water Temperature Affects Coffee Flavor: Finding the Optimal Range
- Instant Coffee Upgrade Guide: 7 Ways to Make It Taste Better
- Moka Pot Advanced Techniques: Better Coffee from Your Stovetop Brewer
- Complete Guide to Brewing V60 Drip Coffee | Master the 4:6 Method
Frequently Asked Questions
QWhat are the key tips for delicious drip coffee?
QWhat is the coffee-to-water ratio for drip?
QDoes the type of dripper change the flavor?
About the AuthorExpert Reviewed
Coffee Guide Editorial
A team of certified writers and baristas with hands-on experience at origin farms and roasteries. We deliver practical, experience-backed guides on bean selection, brewing methods, and equipment reviews.
Credentials & Experience
- J.C.Q.A. Certified Coffee Instructor
- SCA Certified Barista
- 5+ years running a specialty roasting café
- 200+ coffee beans tasted annually