How to Use the Hario V60 Dripper: Complete Beginner's Guide with Basic Recipe
Key Takeaways
- V60's spiral ribs and single large hole create a uniquely controllable extraction
- The bloom, pouring rhythm, and water temperature together determine cup quality
- Most beginner mistakes trace back to temperature, measurement, or pour speed
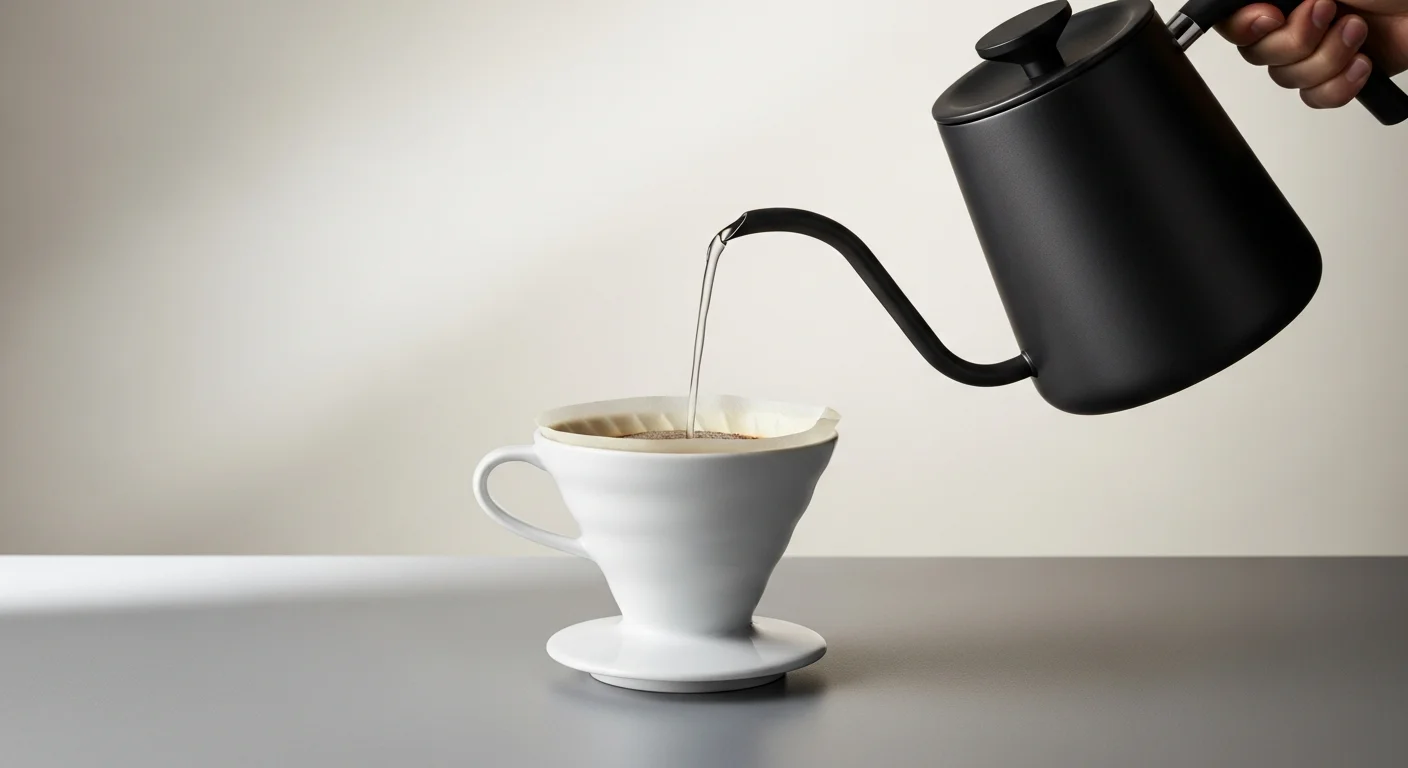
The Hario V60 is one of the most widely used pour-over coffee drippers in the world, found in specialty cafes and home kitchens from Tokyo to New York. Its distinctive conical shape with a single large hole looks simple, but the spiral ribs on the interior walls are the result of deliberate engineering designed to give brewers precise control over extraction.
This guide covers everything a beginner needs to start brewing with the V60, from understanding how it works to a basic recipe and troubleshooting guide.
How the V60 Is Designed and Why It Works
The V60's name comes from the 60-degree angle of the cone. The large single hole at the base is what sets it apart from flat-bottomed drippers — it means the flow rate is not fixed but is instead directly influenced by how you pour.
The spiral ribs: The ribs along the interior wall create a gap between the paper filter and the dripper surface. This gap acts as an air channel, allowing displaced air to escape as water enters. Without these ribs, the filter would press against the dripper walls and slow or block the flow.
The single large hole: Because there is only one opening and it is large, the brewer can control extraction speed through pour rate. Pour slowly and water drains slowly. Pour faster and drainage speeds up. This gives experienced brewers considerable flexibility but requires beginners to develop a consistent technique.
Compared to flat-bottomed drippers like the Kalita, the V60 rewards technique more directly — it reflects skill and attention to detail in the cup. This makes early results less consistent but improvement feel more meaningful over time.
V60 comes in two sizes: 01 (for 1–2 cups) and 02 (for 2–4 cups). For most home brewers making one or two cups at a time, the 01 is the right starting point. Materials include plastic, ceramic, glass, and copper — plastic is the most affordable and is perfectly capable for daily use.
Equipment and Ingredients
To brew with the V60, you will need:
- Hario V60 dripper (see product above)
- V60 paper filters (size 01 or 02, matching your dripper)
- Gooseneck kettle (the narrow spout is essential for controlled pouring)
- Digital scale (for measuring both coffee and water accurately)
- Server or cup to place the dripper over
- Coffee: 15g of medium-ground coffee for a standard single serving
- Water: 90–96°C (adjust based on roast level)
Basic V60 Brewing Steps
Hario V60 Pour-Over
Total Approx. 4–5 minutesSet paper filter in V60, rinse thoroughly with hot water, then discard rinse water from server
30 sec
Add 15g of medium-ground coffee, gently tap to level the bed
15 sec
Pour 30ml of 90°C water from center outward in a circle and wait 30 seconds to bloom
30 sec
First pour
slowly drizzle 70ml in concentric circles from center outward
When water level drops, add second pour of 70ml using the same technique
40 sec
Add final pour to bring total yield to 230ml, then remove dripper when water finishes draining
40 sec
Key Notes on Each Step
The bloom: Freshly roasted coffee contains trapped CO2 gas from the roasting process. Pouring a small amount of water first allows this gas to escape before full extraction begins. You will often see the coffee grounds visibly swell and bubble during a successful bloom — this is normal and desirable. Skip or rush the bloom and the gas will interfere with even extraction.
Pour speed and rhythm: Use a slow, controlled pour. A general target is to take 20–30 seconds for each pour. Pouring too quickly can flood the coffee bed and cause uneven extraction; pouring too slowly may allow the water to cool between additions.
Why three pours: Splitting the water into three additions keeps the coffee bed evenly saturated throughout the brew. Pouring all the water at once would overflow the grounds and dilute the extraction quality.
Common Mistakes and How to Fix Them
Problem: Brew takes too long (over 4.5 minutes) Cause: Grind is too fine, or water is not passing through the grounds evenly. Fix: Make the grind one step coarser; review pouring technique to ensure even coverage.
Problem: Brew drains too quickly (under 2 minutes) Cause: Grind is too coarse or coffee dose is too low. Fix: Make the grind one step finer or add 1–2g more coffee.
Problem: Bitter or harsh taste Cause: Water temperature too high, especially with dark roast beans. Fix: Lower the temperature by 3–5°C. For dark roasts, aim for 85–88°C.
Problem: Weak or empty-tasting cup Cause: Too little coffee or grind too coarse. Fix: Increase dose by 1–2g or fine the grind slightly.
The single most effective thing a beginner can do to improve V60 consistency is to use a digital scale for every brew. Measuring both the coffee and the water by weight removes two major sources of variation at once. This is more impactful than any technique refinement.
Choosing Coffee for the V60
The V60 is known for highlighting the intrinsic character of the beans used — it does not mask or homogenize flavor the way some other methods do. This means bean choice matters more with the V60 than with more forgiving methods.
Light roast: Expressive fruit acidity, floral aromatics, and delicate sweetness. Brew at 92–96°C to fully develop these characteristics. The V60 is a particularly good match for light roast beans.
Medium roast: Balanced sweetness, brightness, and body. Works well at 90–93°C. This is the most forgiving range for beginners.
Dark roast: Chocolate-like richness and depth. Use lower temperatures (85–88°C) to avoid amplifying harsh bitterness.
Summary: V60 Rewards Consistent Practice
Key takeaways for getting started with the V60.
- Follow the sequence: Rinse, 30-second bloom, three pours — this structure produces predictable results
- Weigh everything: Consistent measurement is the foundation of consistent coffee
- Match temperature to roast: Stay in the 90–96°C range and adjust based on how the beans taste
- Change one thing at a time: When something tastes wrong, adjust grind size first, then temperature, then pour technique
- Build the habit before buying better gear: Technique matters more than equipment at this stage
The V60 is one of those pieces of equipment that grows with you. It can feel unpredictable in the first few sessions, but the feedback is direct and learning happens quickly. In 2026, it remains the reference standard for pour-over brewing precisely because it never stops being interesting to use well.
References & Sources
About the Author
Coffee Guide Editorial
A team of writers and baristas passionate about coffee. We cover everything from bean selection and brewing methods to café culture.
Team Credentials
- Certified baristas
- Specialty roasting café experience
- Coffee import industry experience