Nel Drip Coffee Brewing Guide: Recreating the Mellow Kissaten Cup at Home
Key Takeaways
- Nel drip uses a cloth flannel filter and is the signature brew method of Japan's traditional kissaten cafés, producing a mellow, full-bodied cup
- The standard recipe calls for water at 85–90°C, a coarse to medium-coarse grind, and slow pouring to bring out sweetness and roundness
- Filter care is the single most important factor — rinse with water only, store fully submerged in cold water in the fridge, and never let it dry out
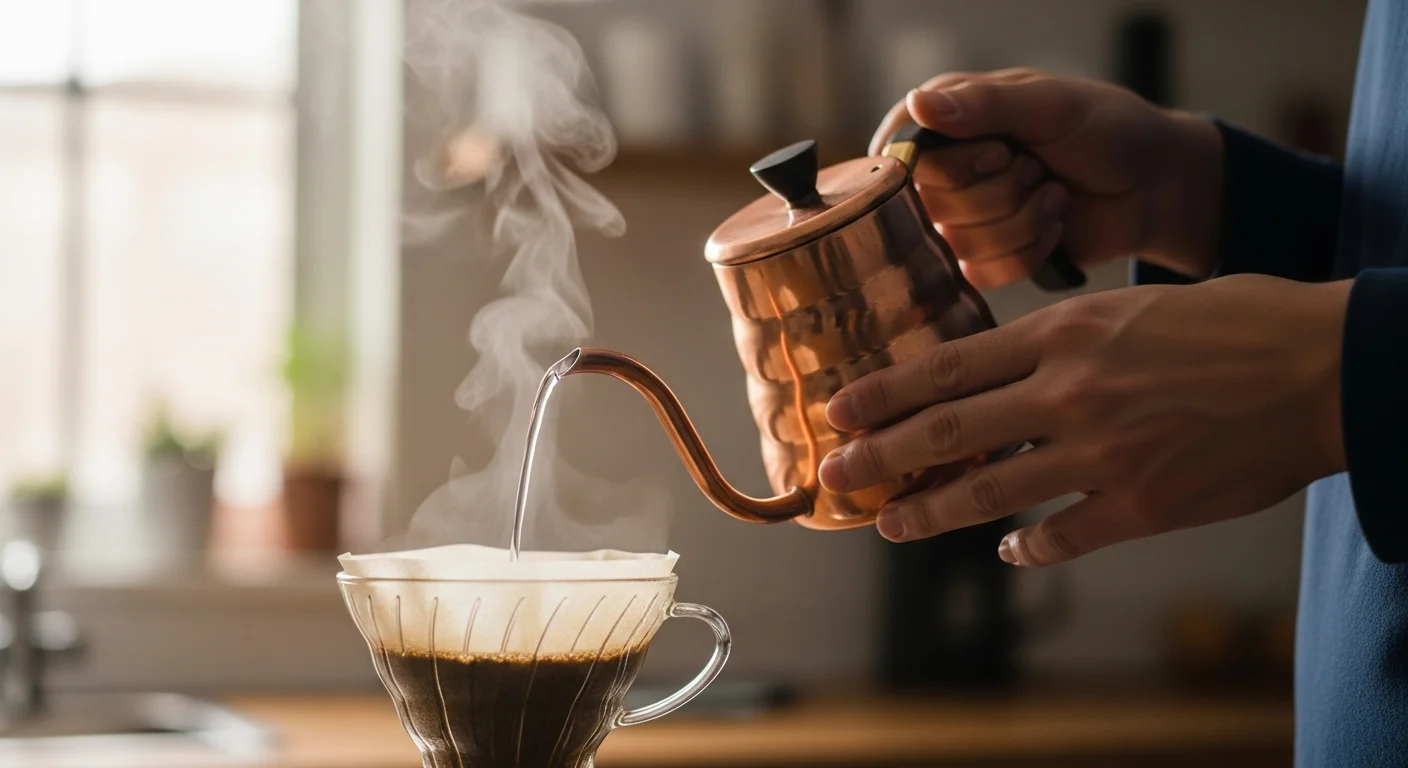
The deep, mellow aroma drifting from the back of an old kissaten — that is the cup nel drip has been producing for generations. Nel drip is a uniquely Japanese brewing tradition, distinct in feel and flavor from paper drip. The texture of cloth, the rhythm of drops falling slowly into the server, the patience required — every element is part of the satisfaction in the finished cup.
This guide walks through everything from the mechanics and history of nel drip, through equipment selection and detailed brewing steps, to the filter care that makes or breaks every subsequent brew.
What Is Nel Drip?
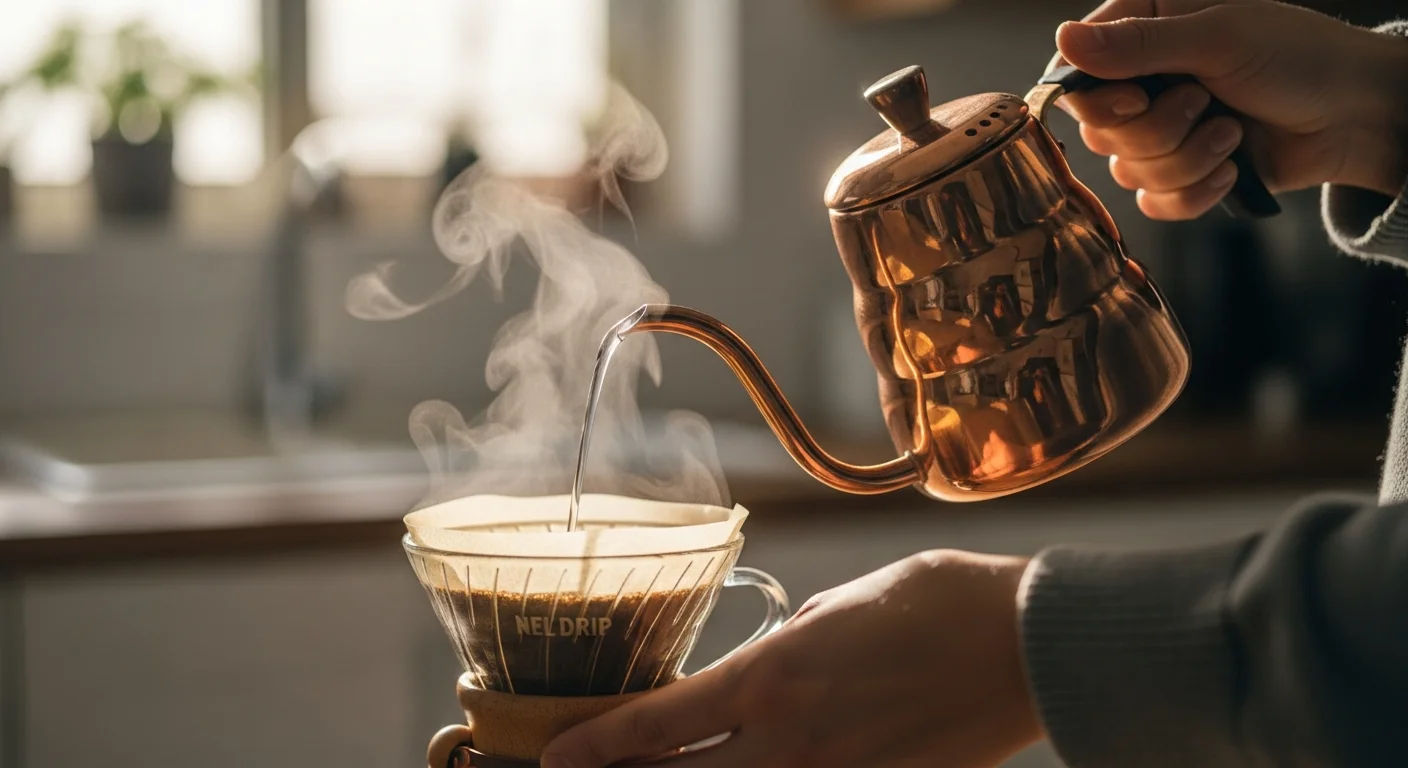
Nel drip is a brewing method that extracts coffee through a filter made of flannel — a soft, napped cotton fabric. "Nel" is a shortened form of flannel (フランネル) in Japanese.
The defining difference from paper drip is that coffee oils pass through the cloth. Paper filters absorb fine oils and micro-particles, but flannel allows oils to flow through while still catching grounds. The result is a cup that has the body and richness of a French press, but without the sediment — a clean yet full-bodied profile that paper drip cannot match.
"Mellow," "silky," "lingering sweetness" — the words used to describe nel drip coffee point to the same source: the coffee oils carried through by the cloth, combined with the gentle component balance that comes from a slow, patient extraction.
A nel drip cup is often described as smooth on the palate. This is because the coffee oils form a thin film on the tongue, creating a silky mouthfeel. The taste profile sits squarely between the clarity of paper drip and the body of French press.
History | Japanese Kissaten Culture and Nel Drip
The history of nel drip is inseparable from Japan's coffee culture. Cloth-filter brewing has European origins (Netherlands, France), but it was in Japan that the method evolved into a distinct tradition.
In the early 20th century, Japan's junkissa (純喫茶, "pure coffee shops") elevated coffee preparation to an art. Paper filters were not yet widespread, so cloth filters were the standard, and the masters of these shops controlled fabric condition, water temperature, and pour speed entirely by feel — pursuing a personal expression in every cup.
Even after paper filters became common in the 1960s and 1970s, dedicated kissaten kept the nel drip tradition alive. Today, you can still find it at long-standing shops in Tokyo's Ginza district and historic coffee houses in Kyoto. With the recent specialty coffee movement, a younger generation of baristas has rediscovered its value.
Nel Drip vs. Paper Drip
Comparing the two methods makes the character of nel drip much clearer.
| Comparison | Nel Drip | Paper Drip |
|---|---|---|
| Filter material | Cotton flannel | Paper (bleached or unbleached) |
| Coffee oils | Pass through | Mostly absorbed |
| Mouthfeel | Mellow, silky | Clean, light |
| Cleanup | Some effort (filter storage) | Easy (discard the paper) |
| Running cost | Low (filter is reused) | Ongoing |
| Lifespan | 50–100 brews per filter | Single use |
| Paper taste | None | Sometimes a faint influence |
What stands out is that nel drip can deliver both cleanness and body at the same time. French press has body but leaves fine grounds and grit; nel drip's cloth catches fine particles while letting oils through, producing a cup that is clear and rich at once.
Equipment You'll Need
Drip Pot (Wood Neck)
The HARIO Wood Neck series is practically synonymous with nel drip. A wood-handled holder secures the cloth filter and sits on top of a server. The 1–2 cup DPW-1 model is the most beginner-friendly size and easy to handle.
Cloth Filter (Nel Filter)
A flannel cloth filter. New filters carry residual sizing from manufacturing, so they must be boiled with coffee grounds before first use (covered below). After 50–100 uses, it is time to replace.
Drip Kettle
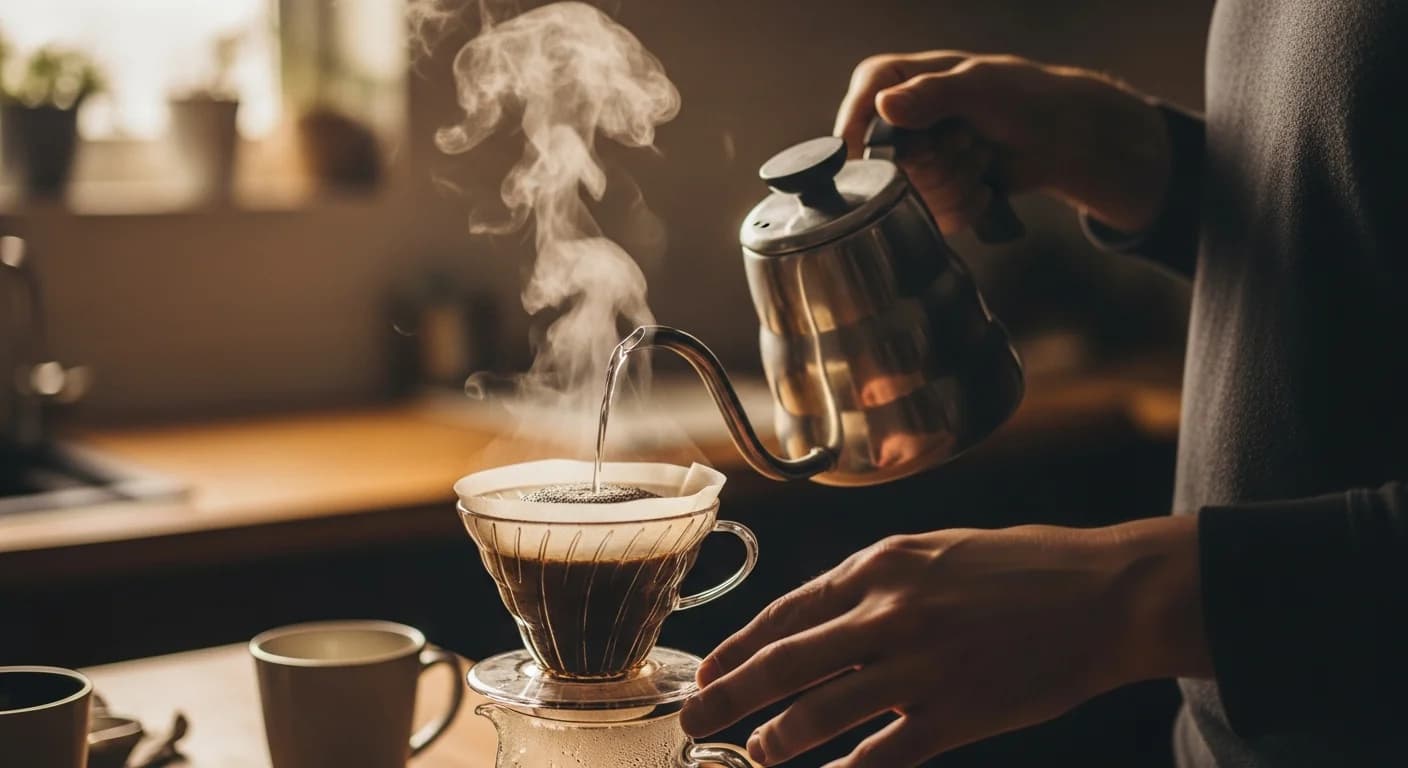
A gooseneck drip kettle is essential. Pour control matters even more in nel drip than in paper drip, so choose a kettle that gives you a steady, thin stream. A kettle with a built-in thermometer or temperature control makes the process easier.
Server
A heat-resistant glass carafe to receive the brew. Clear glass lets you watch the color develop during extraction.
Scale and Timer
A digital scale and timer are necessary for repeatable cups. Nel drip has many steps — without measurement, it is difficult to maintain consistent quality from brew to brew.
For your first nel drip setup, the HARIO Wood Neck Drip Pot (DPW-1) bundle is the most efficient choice. The cloth filter, holder, and server come together as a single set, so you can start brewing immediately without sourcing pieces separately.
Preparing a New Filter (One-Time Step)
A new cloth filter contains residual sizing from manufacturing. Always do this step before the first brew.
- Bring water and used coffee grounds to a boil in a pot
- Add the new cloth filter and simmer for 5–10 minutes on low heat
- Turn off the heat and let it cool naturally
- Once the filter is stained brown by the coffee, the prep is complete
- Rinse thoroughly with water before the first brew
Boiling with coffee removes the sizing and seasons the cloth so it is ready to brew. Skipping this step leaves an off-flavor in the first several cups.
How to Brew Nel Drip Coffee (Step by Step)
What You Need
- Coffee beans: 20–24g (for 2 cups)
- Water: 350–400ml at 85–90°C
- Yield: about 300ml
Grind Size Guide
Coarse to medium-coarse is the baseline. Set your grinder one or two clicks coarser than your paper drip setting. Too fine a grind causes over-extraction and brings out bitterness and astringency. Aim for a grind close to French press, perhaps slightly finer.
Step 1: Prep and Temperature (5 minutes)
Boil water and let it cool to roughly 90°C. Transfer to your drip kettle and wait 1–2 minutes, or check with a thermometer.
At the same time, take the nel filter out of storage. The filter has been soaking in cold water, so dab it gently with a clean towel or paper towel to remove excess moisture. Do not wring it out — keeping the cloth damp is essential to a good brew.
Water temperature has a major effect on the cup. At 85–90°C the sweetness comes forward and the cup feels softer. At 92–96°C bitterness and body are emphasized for a more balanced result. Darker roasts can take higher temperatures, lighter roasts prefer lower — but for nel drip overall, the lower end of the range works best.
Step 2: Setup (2 minutes)
- Set the nel holder on top of the server
- Attach the cloth filter to the holder (seam facing outward)
- Weigh out coffee grounds and place them in the filter (20–24g)
- Level the surface gently with a spoon or your finger
Pressing a small dimple into the center of the bed helps the water spread evenly during the bloom.
Step 3: Bloom (20–30 seconds)
Pour water gently from the gooseneck onto the center of the bed. The amount should just dampen all the grounds — about 40–50ml. Pour as slowly as you can. The classic image is a "string of pearls" — a slow, steady, single-drop stream.
Once poured, wait 20–30 seconds. The bed will swell as carbon dioxide releases (the bloom). Fresher beans bloom more dramatically.
Step 4: First Pour (up to 1 minute total)
After the bloom, begin pouring slowly in concentric circles from center to edge. Don't pour large amounts at once — keep a thin, steady stream and add water gradually.
The idea is to keep pace with the bed level falling — pour as the surface dips, not before. Pouring too aggressively causes uneven extraction and brings out astringency. Target volume: about 100–130ml.
Step 5: Second Pour and Finish (2–3 minutes)
When the bed level falls again, start the second pour. Continue the spiral pattern from center outward at a steady pace. Nel drip extracts more gently than paper drip, so don't rush — slow, sustained pouring is what produces the cup.
When the brew approaches the target yield (about 300ml), stop pouring and wait until all liquid drips through.
Total brew time: about 3–4 minutes (for two cups)
Don't shake or stir the dripper while pouring. Quiet patience is the spirit of nel drip. Brewing on a scale and tracking weight will dramatically improve your repeatability.
Recipe Summary
| Item | Value |
|---|---|
| Coffee | 20–24g |
| Water temperature | 85–90°C |
| Grind | Coarse to medium-coarse |
| Bloom | 40–50ml (20–30 sec) |
| Total water | 350–400ml |
| Yield | ~300ml |
| Total brew time | 3–4 min |
| Coffee-to-water ratio | 1:15 to 1:17 |
Nel Filter Care and Storage (Most Important)
The single most important aspect of nel drip is filter care. Skip this and your next brew is ruined.
Right After Use
- Remove the spent grounds from the filter (rinse them out)
- Rinse thoroughly under running water
- Never use detergent — soap and detergent residues cling to the cloth and ruin coffee aroma
- Squeeze gently by hand (do not wring hard) and place in clean, cold water
- Store in a covered container with the water in the refrigerator
The Storage Rule
"Submerge in water, refrigerate" is the absolute rule.
If you let the cloth dry out, the coffee compounds in the fibers oxidize and spoil, leaving strong off-flavors and unpleasant odors in the next brew. Cold water storage suppresses bacterial growth and preserves the filter's neutrality.
Change the storage water daily if possible. If the filter sits unused for several days, replace the water at least every 2–3 days.
For storage, an airtight container (a plastic food container or a glass jar with a lid) works well — keep the filter fully submerged with enough water to cover it completely.
When to Replace the Filter
Replace your filter when:
- It clogs and the brew takes more than 30 minutes
- Stains or odors no longer come out with rinsing
- The fabric is thinning or about to tear
- You've used it 50–100 times (depends on frequency)
A replacement filter typically costs around 500–1,000 yen. Even with regular replacement, the running cost remains well below paper filters.
Pros and Cons
Pros
- +Coffee oils pass through, producing a mellow, full-bodied cup
- +No paper taste, unlike paper drip
- +Reusable filter keeps running costs low
- +Cleaner than French press, with no sediment
- +The brewing ritual itself is part of the enjoyment
Cons
- -Requires water-submerged refrigerated storage after every use
- -Letting the filter dry causes off-flavors and odors
- -New filters need a one-time prep
- -Steeper learning curve than paper drip
Recommended Equipment
Frequently Asked Questions
Frequently Asked Questions
QDo I really need to wash the filter every time?
QWhich beans pair best with nel drip?
QHow does nel drip differ from siphon brewing?
Related Reading
About the AuthorExpert Reviewed
Coffee Guide編集部
A team of certified writers and baristas with hands-on experience at origin farms and roasteries. We deliver practical, experience-backed guides on bean selection, brewing methods, and equipment reviews.
Credentials & Experience
- J.C.Q.A. Certified Coffee Instructor
- SCA Certified Barista
- 5+ years running a specialty roasting café
- 200+ coffee beans tasted annually