How to Use a Moka Pot: Step-by-Step Guide, Common Mistakes, and Best Models
PRThis article contains affiliate links
Key Takeaways
- The Moka pot uses steam pressure to push hot water through coffee grounds on a stovetop
- Never tamp the grounds, and always brew on low to medium heat
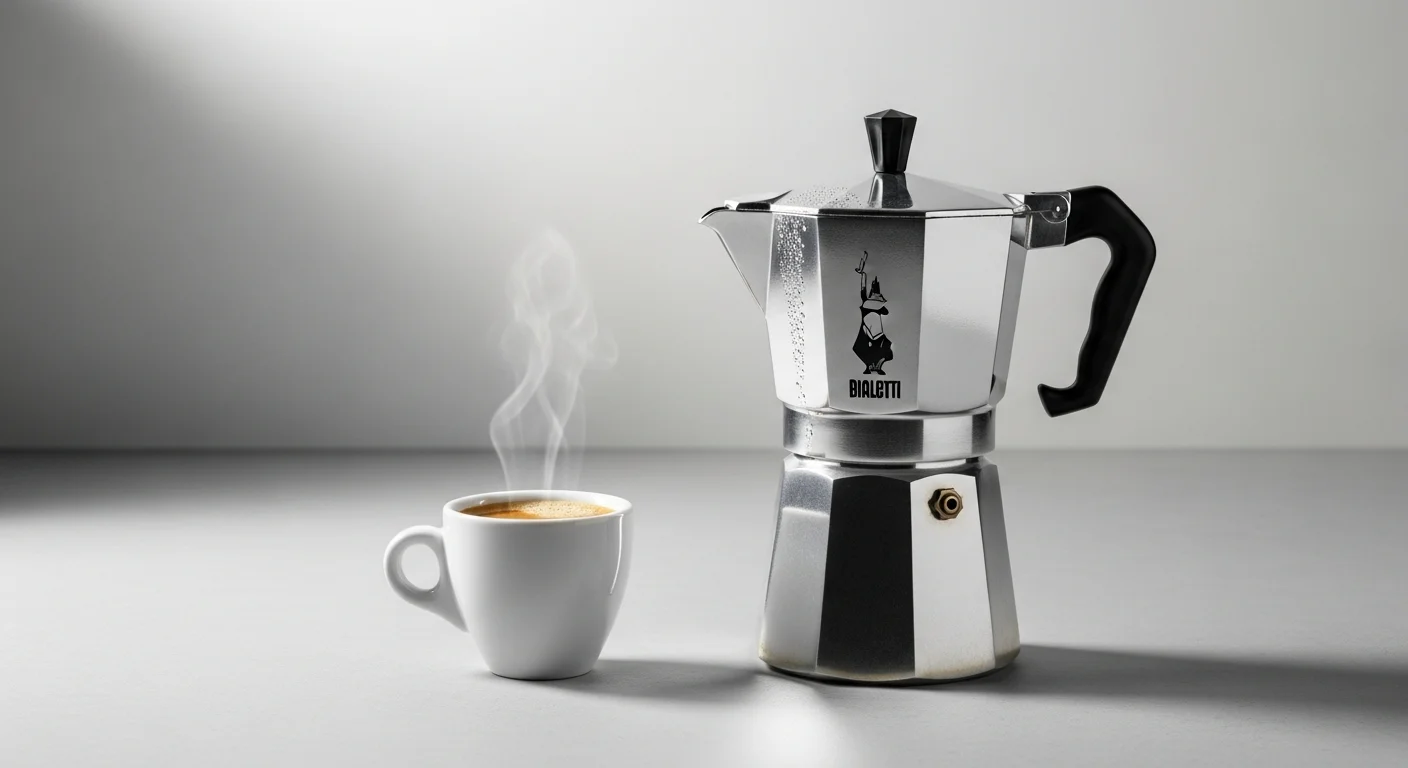
- The Bialetti Moka Express is the definitive classic model
The Moka pot is a fixture in virtually every Italian home. Since Bialetti introduced it in 1933, its elegant, practical design has made it one of the most beloved coffee tools in the world. It produces a rich, full-bodied coffee that is closer to espresso than any drip method, without the need for expensive machinery.
This guide explains what a Moka pot is, how it works, how to brew with it step by step, how to troubleshoot problems, and which models are worth buying.
What Is a Moka Pot
"Macchinetta" means "small machine" in Italian. The Moka pot is also widely known as a stovetop espresso maker or Moka Express — the latter being the iconic Bialetti product name. It is an aluminum or stainless steel device that sits directly on a gas flame or induction burner and uses steam pressure to brew coffee.
Strictly speaking, a Moka pot does not make true espresso. An espresso machine operates at 9 bars of pressure; a Moka pot generates only 1–2 bars of steam pressure. However, the result is far stronger and more concentrated than drip coffee — rich, full-bodied, and remarkably satisfying.
Pros
- +Simple to use, even for complete beginners
- +Inexpensive compared to espresso machines
- +Compact and requires no electricity
- +Durable and virtually maintenance-free
Cons
- -Does not reach espresso-level pressure
- -Requires attention to heat control
- -Aluminum models are not compatible with induction stovetops
- -Easy to over-extract if heat is too high
How It Works: Structure and Mechanism
Understanding the mechanics of a Moka pot makes every step of the brewing process intuitive.
A Moka pot consists of three parts:
- Bottom chamber (boiler): Holds water. Heat causes pressure to build inside
- Basket (filter): Holds the coffee grounds. Sits between the boiler and the top
- Top chamber: Collects the brewed coffee that is pushed up through the center tube
As the water heats, it boils and steam pressure forces the hot water upward through the coffee grounds in the basket. The brewed coffee travels through a central tube and emerges into the top chamber. The familiar "gurgling" sound you hear is the water — and then steam — passing through the system.
Step-by-Step Brewing Guide
Follow these steps consistently for reliable results every time.
Moka Pot (Moka Express)
Total 5 minutesFill the boiler with water
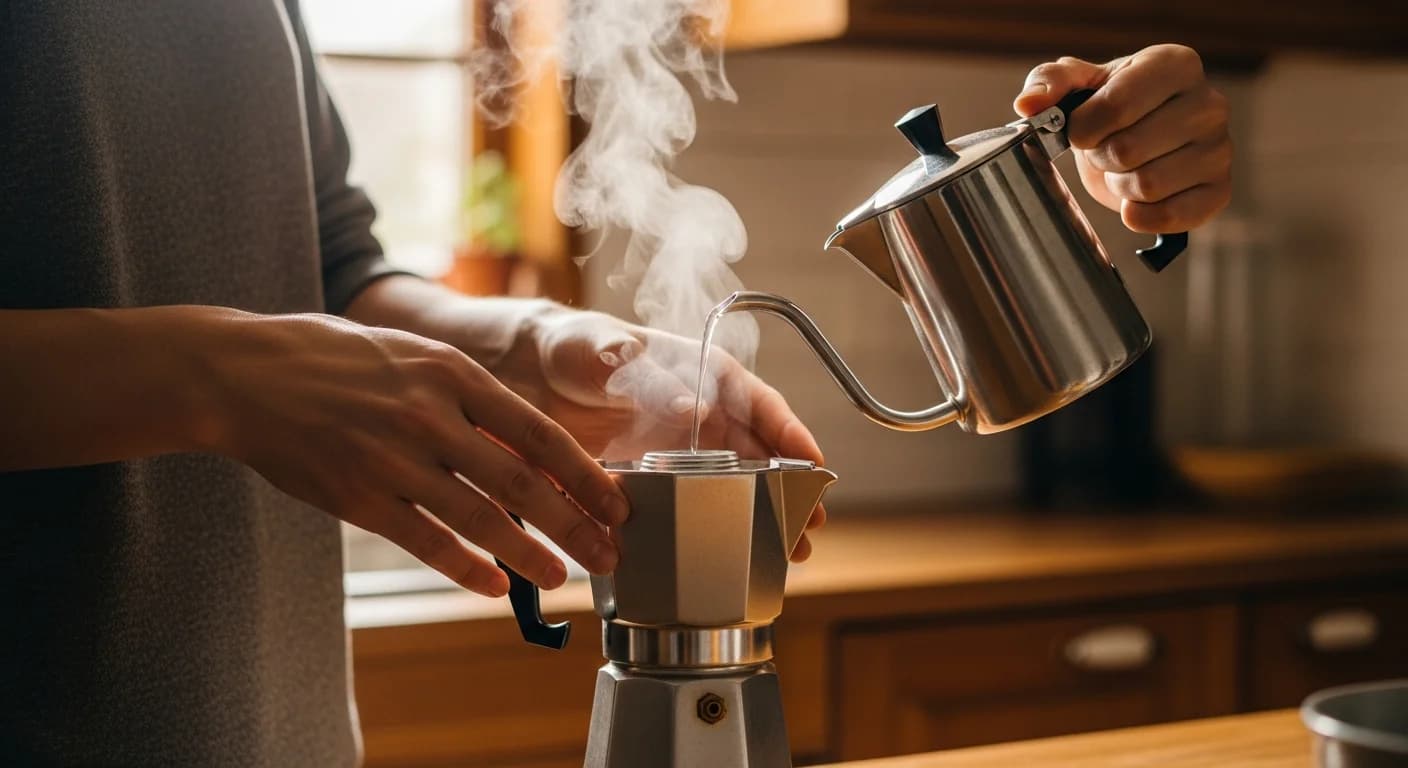
Pour water into the bottom chamber up to just below the safety valve. Use cold or room-temperature water — soft water is ideal
Add coffee grounds to the basket
Fill the basket with medium-fine ground coffee and level the surface gently. Do not tamp or compress
Assemble the pot
Screw the top and bottom chambers together tightly. Make sure the rubber gasket is properly seated
Heat on low to medium
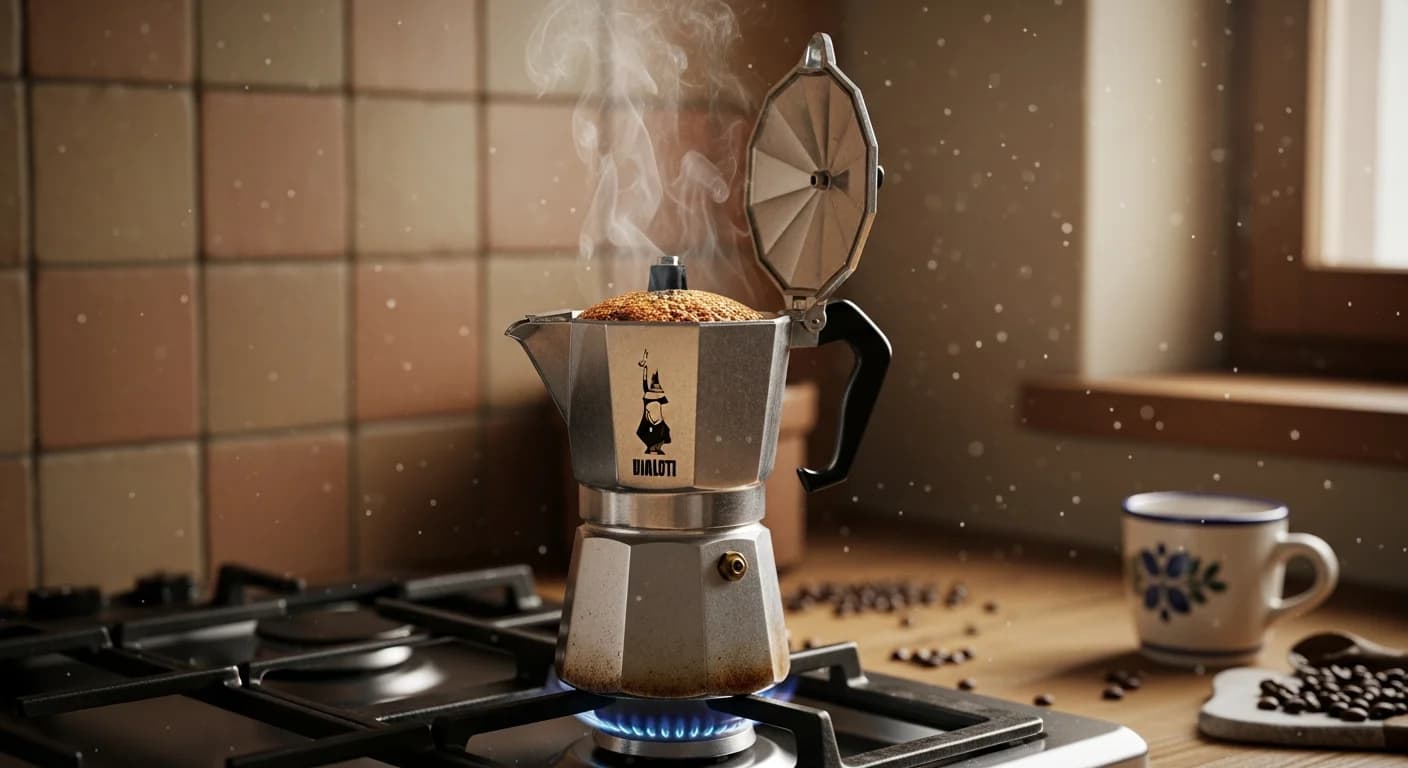
Place on the stovetop with the lid open. Use low to medium heat — never high heat
Remove from heat when done
When the coffee starts flowing into the top chamber with a steady stream, lower the heat. Remove from the burner immediately when you hear a hollow gurgling or "bubbling" sound
Pour and serve
Pour into cups right away, or cool the bottom under a damp cloth to stop over-extraction
The total brew time is roughly 3–5 minutes. Patience and low heat are the keys to good results. Remove the pot from the heat as soon as you hear the bubbling hollow sound — letting it continue past this point will produce bitter, harsh coffee.
Never tamp the coffee grounds. Unlike an espresso machine, the Moka pot does not tolerate a compressed puck. Tamping blocks the flow of steam, which can activate the safety valve or damage the pot. Simply level the surface of the grounds with your finger.
Common Mistakes and How to Fix Them
These are the most frequent problems beginners encounter, along with their solutions.
Coffee Is Not Coming Out or Comes Out Very Slowly
- Cause: Grounds are too fine or packed too tightly
- Fix: Use a medium-fine grind and fill the basket loosely without pressing
- Cause: Safety valve is clogged
- Fix: Clean the safety valve regularly with a thin brush or toothpick
Coffee Tastes Bitter and Burnt
- Cause: Heat is too high, or the pot was left on the heat after brewing finished
- Fix: Use low to medium heat, and remove from the burner as soon as the gurgling sound changes
Coffee Is Weak and Watery
- Cause: Grounds are too coarse or the basket is underfilled
- Fix: Use a slightly finer grind and fill the basket close to the top
Coffee Is Overflowing or Foaming Excessively
- Cause: Too much heat, or too much water in the boiler
- Fix: Reduce heat immediately and ensure water is below the safety valve line
For your first two or three uses, brew a batch with inexpensive coffee and discard it. This "seasoning" process removes the metallic taste that new aluminum Moka pots can impart to the first few brews.
Care and Maintenance
A well-maintained Moka pot can last for decades. Here is how to keep yours in top condition.
- No dish soap: Wash with water or warm water only. Soap strips the natural seasoning and leaves residue
- Dry completely before storing: Moisture degrades the rubber gasket
- Store disassembled: Keeping it in parts reduces stress on the gasket
- Replace the gasket annually: If the rubber seal is hard, cracked, or compressed, replace it. Spare gaskets are inexpensive and widely available
Recommended Models: Bialetti Moka Express
When it comes to Moka pots, Bialetti is the original and still the best. The Moka Express has been in production since 1933, and its design has changed almost nothing since then — a testament to how well it was engineered from the start.
The 3-cup model is the most popular size for individuals and couples. It brews approximately 130ml of strong coffee — enough for two small espresso-style cups. The aluminum construction is lightweight and conducts heat efficiently for fast, even extraction.
This Italian-manufactured import model offers the same classic design at a slightly lower price. For those who want the authentic Italian-made experience, this is an excellent choice. The construction and performance are essentially identical to the standard model.
Size Guide
| Size | Brew Volume | Best For |
|---|---|---|
| 1-cup | ~50ml | Solo brewer, small servings |
| 3-cup | ~130ml | 1–2 people, starter size |
| 6-cup | ~250ml | 2–4 people, family use |
Summary
The Moka pot is one of the most rewarding and accessible coffee tools available. Simple to learn, affordable, and capable of producing genuinely excellent coffee.
Moka Pot — Key Takeaways
- Structure: Three parts — boiler, basket, and top chamber
- Grind: Medium-fine is the standard starting point
- Never tamp: Compressing the grounds can damage the pot
- Heat: Low to medium — high heat causes bitterness
- Water level: Always below the safety valve
- Done signal: Hollow bubbling or gurgling sound
- Care: No soap, fully dry before storage, store disassembled
It may take a few attempts to find the right grind size and heat level for your setup. Once you do, the Moka pot becomes one of the most satisfying parts of a daily coffee ritual — a small, beautifully simple machine that has been making mornings better for nearly a century.
Related Articles
- Bialetti Moka Express Review — The Classic Stovetop Espresso Maker Explained
- Moka Pot Advanced Techniques: Better Coffee from Your Stovetop Brewer
- Tetsu Kasuya 4:6 Method: Complete V60 Recipe Guide
- AeroPress Championship Recipe Guide: Competition Techniques at Home
- Complete AeroPress Guide: Inverted Method Recipes and Expert Tips
- Espresso Extraction Time: How to Adjust for Perfect Shots
- No Crema? Causes and How to Fix It
Frequently Asked Questions
QHow do you use a Moka pot?
QIs Moka pot coffee the same as espresso?
QWhat is the key to making good Moka pot coffee?
About the Author

Coffee Guide Editorial
We cover coffee bean selection, brewing methods, and equipment features. For specifications and safety instructions, consult the article sources and the manufacturer’s latest information.